
Getting Started
Get in Touch
Where we’re located:
We live, work, and play in beautiful Tallahassee, Florida.
Billing & Payment Mailing Address:
2910 Kerry Forest Pkwy, D4-282
Tallahassee, FL 32309 USA
We are SOC 2 Compliant

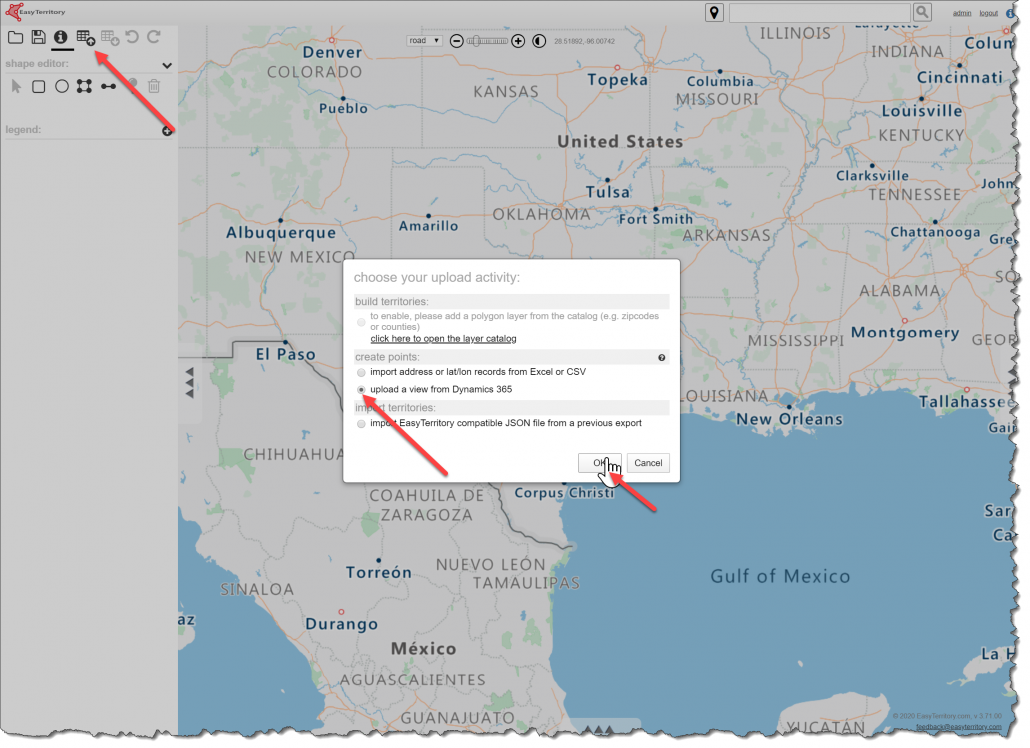
With EasyTerritory, organizations can map any data with addresses directly through from Microsoft’s Common Data Service to overlay on top of Azure Maps or Bing Maps. The following documentation describes how to setup a connection to CDS, create a view, and map records!
EasyTerritory must be configured to use Azure Active Directory to read data from the CDS. This documentation describes how to setup EasyTerritory with Azure AD.
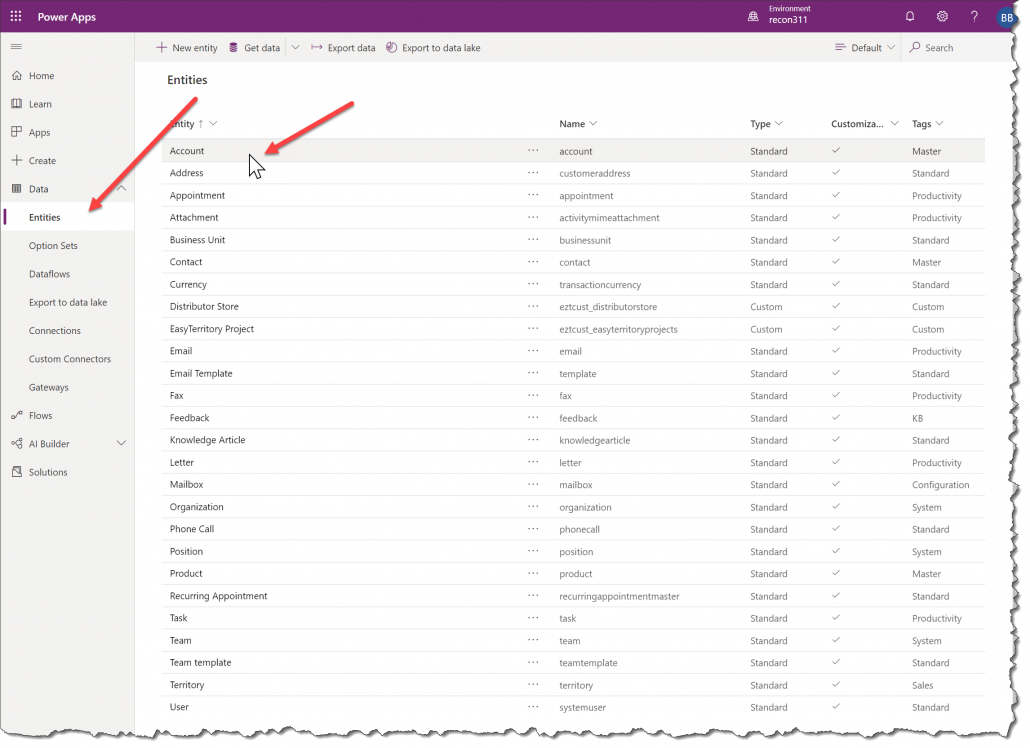
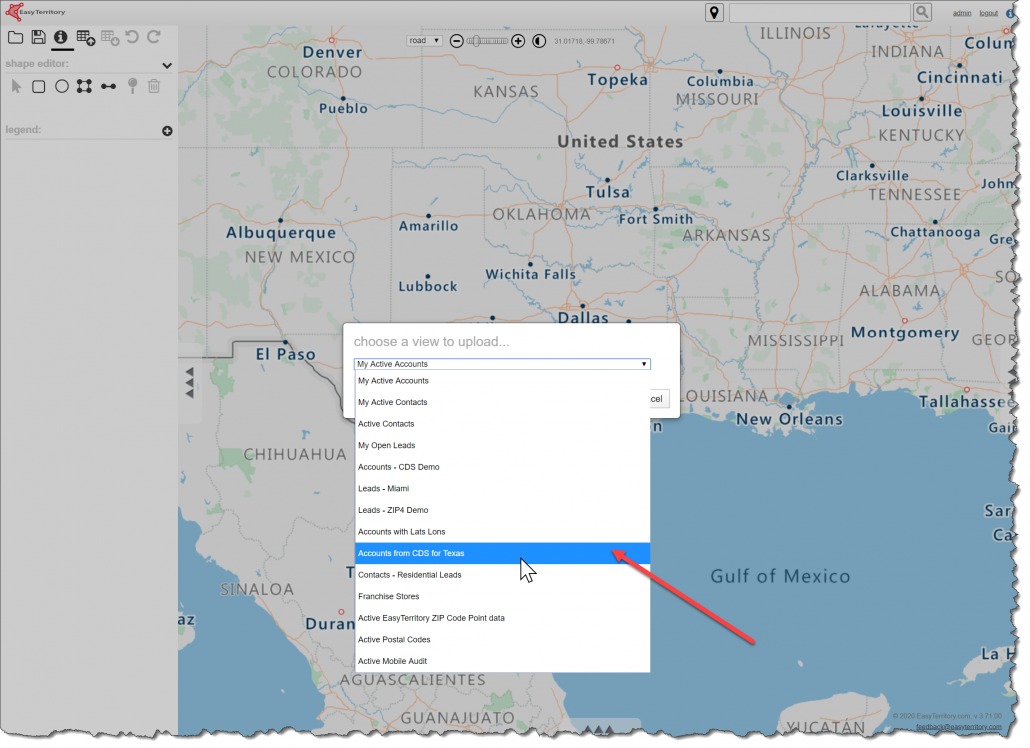
Navigate to Views and click ‘+ Add view’
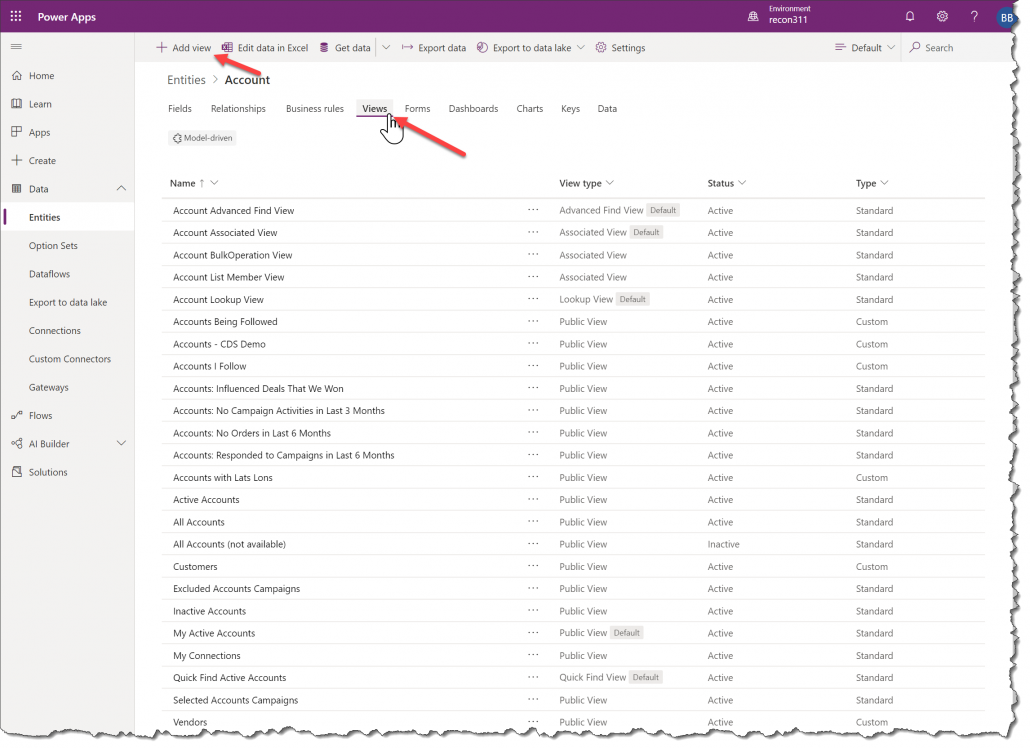
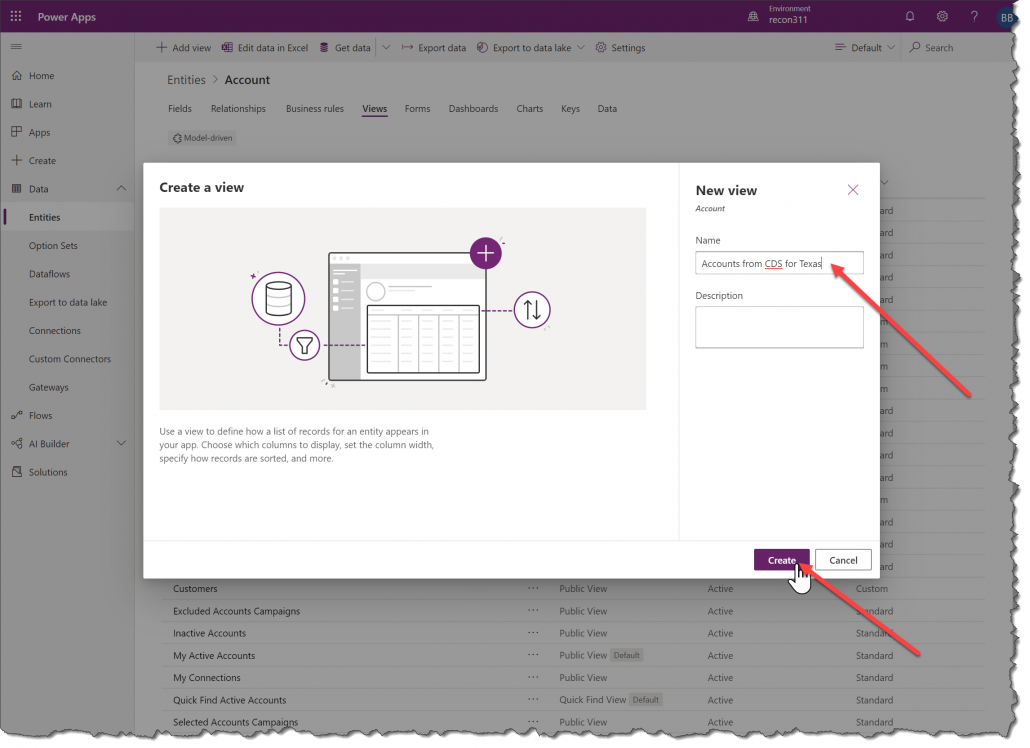
Give your new view a name and add the columns you’d like to show in EasyTerritory.
Important Note: To map data in EasyTerritory, your views will need fields with address information (e.g. Address 1: Street, Address 1: City, Address 1: State/Province, Address 1: ZIP/Postal Code) or populated Latitude and Longitude field (e.g. Address 1: Latitude, Address 1: Longitude). If your data isn’t already geocoded, EasyTerritory will use the address fields to geocode the data on-the-fly in EasyTerritory. Having the data already geocoding will increase your data load times in EasyTerritory.
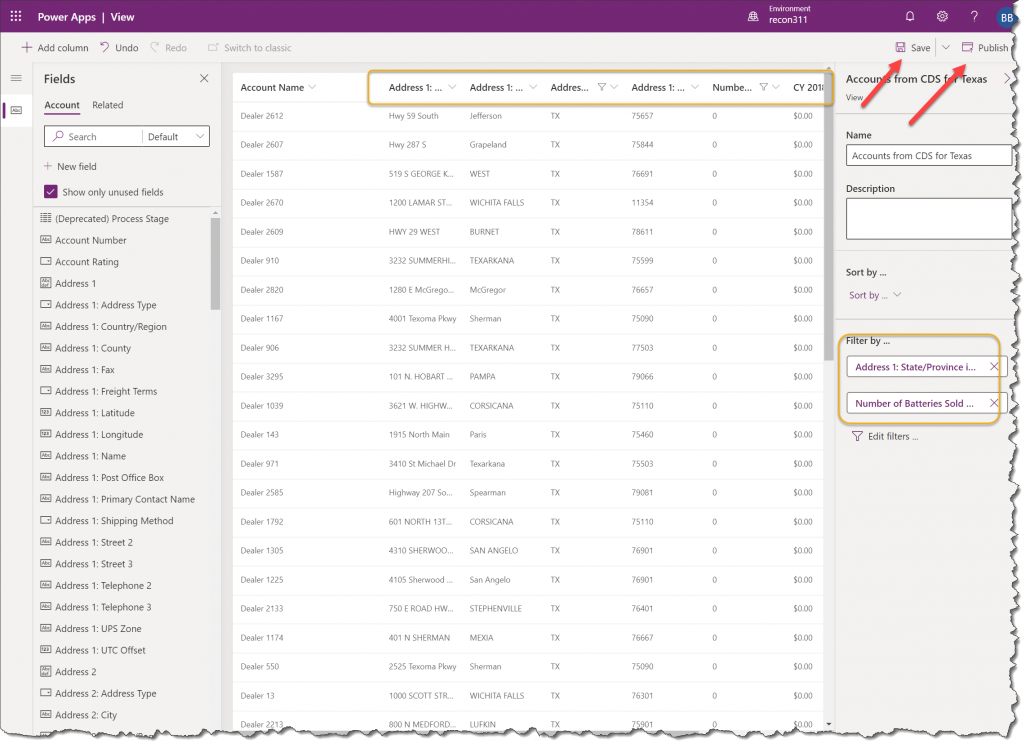
The next dialog selects which columns have your address and/or latitude and longitude fields.
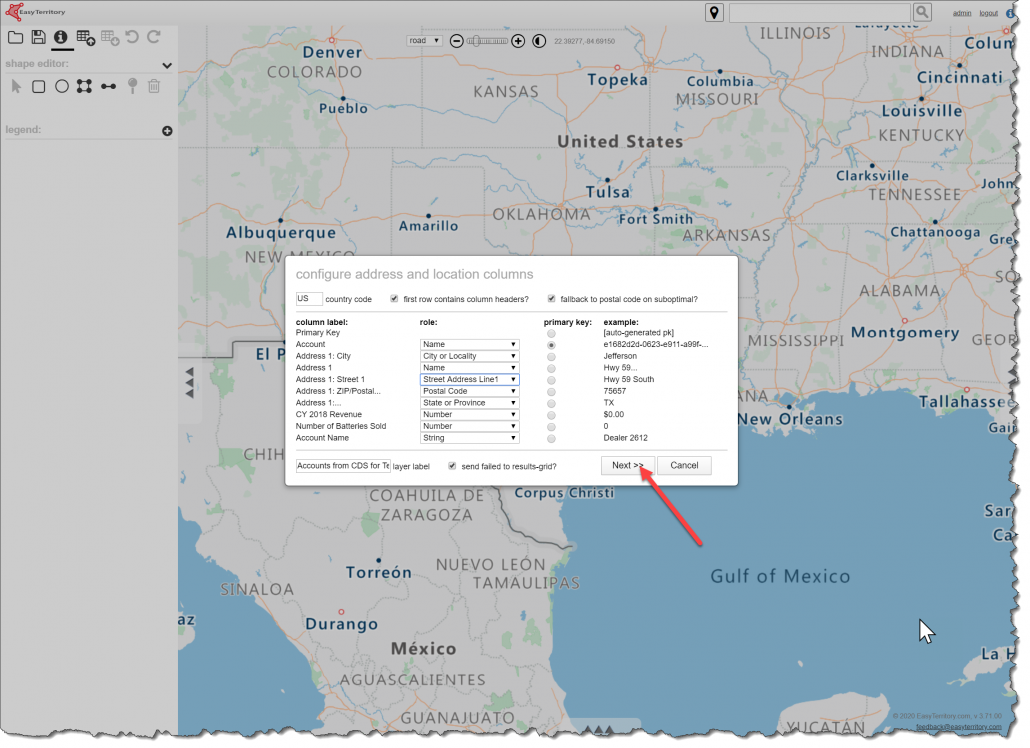
Data will be geocoded on-the-fly if no lat/lon fields are present in the view.
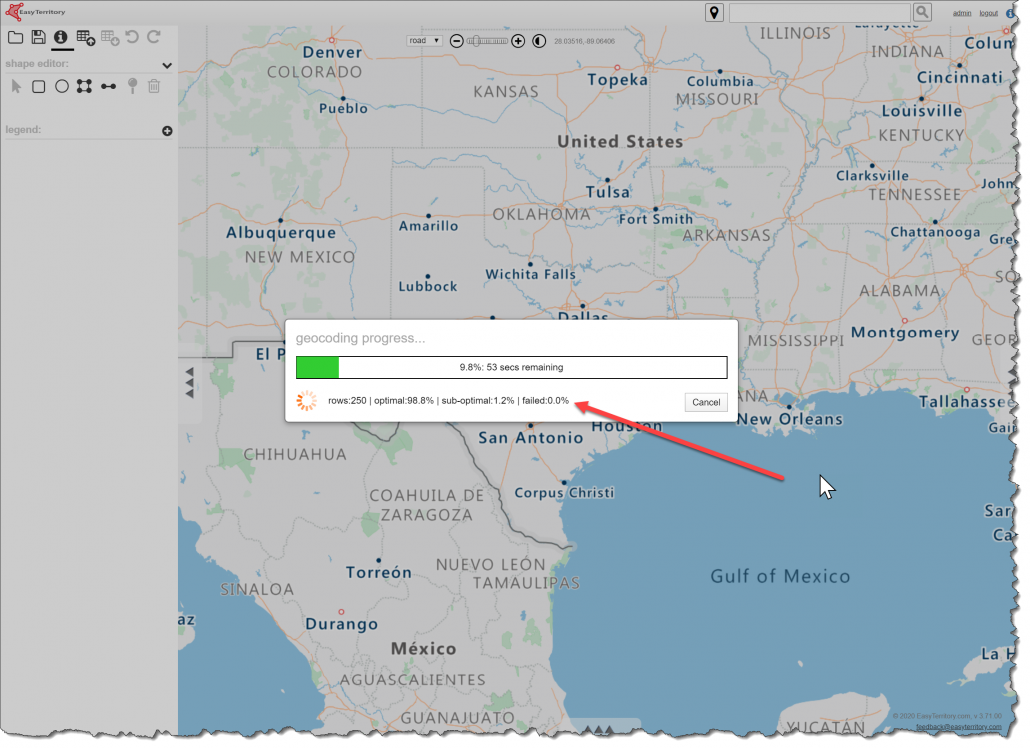
Results!
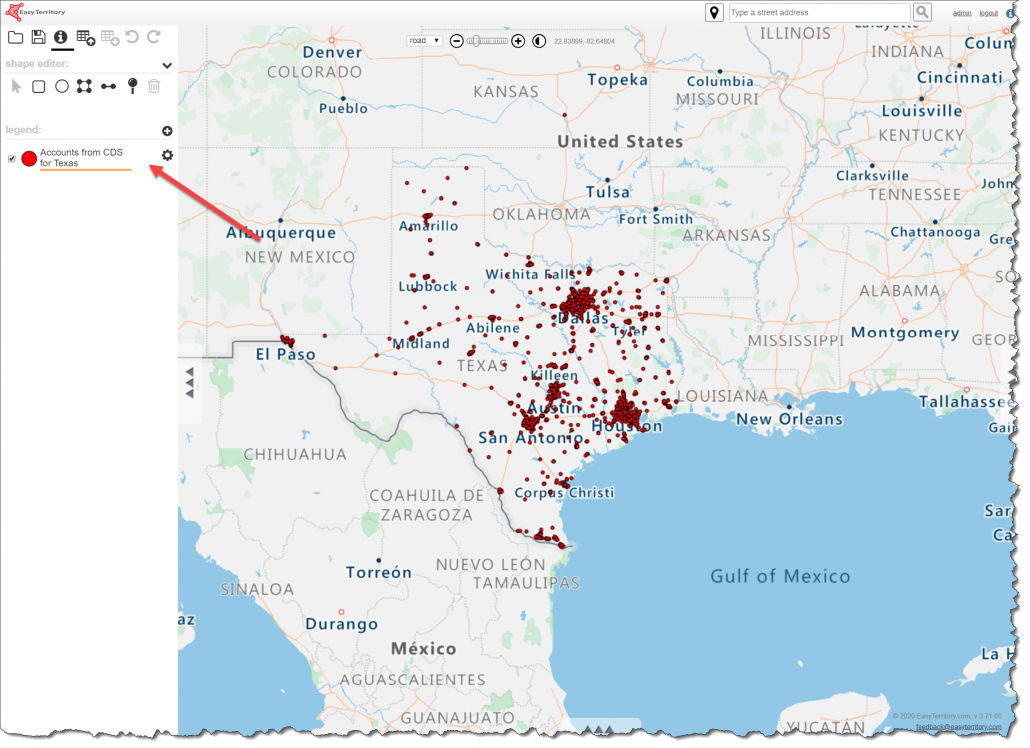
That’s how easy it is map data from the Common Data Service using Azure Maps or Bing Maps!