
Getting Started
Get in Touch
Where we’re located:
We live, work, and play in beautiful Tallahassee, Florida.
Billing & Payment Mailing Address:
2910 Kerry Forest Pkwy, D4-282
Tallahassee, FL 32309 USA
We are SOC 2 Compliant

The following are instructions for setting up EasyTerritory using the EasyTerritory forms-based authentication with Dynamics 365. Under this configuration, the EasyTerritory is prompted for EasyTerritory creds to log into the application, then prompted for Dynamics 365 credentials when adding a view from Dynamics.
NOTE: An alternative approach to this authentication model is to setup EasyTerritory with Azure Active Directory. Instructions for those configuration steps can be found here. Otherwise, follow these steps to
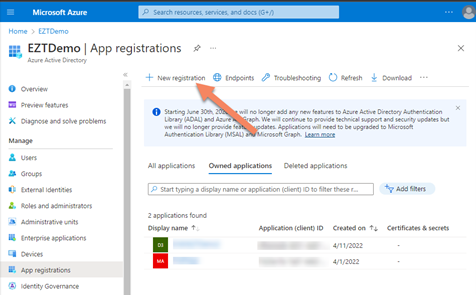
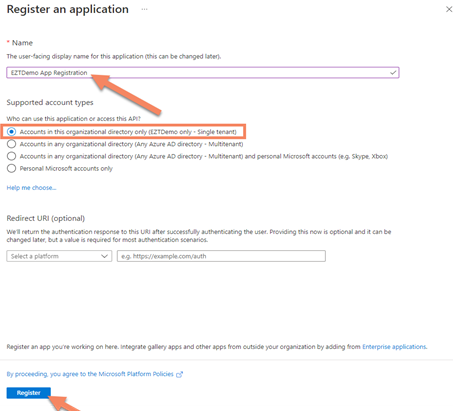
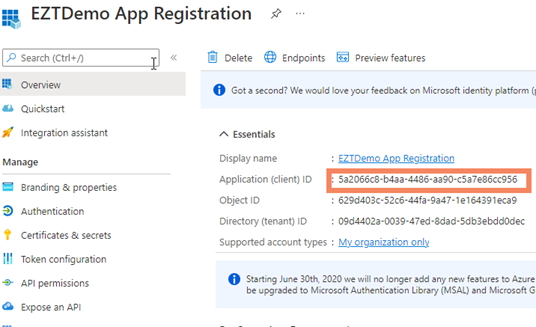
Step 1: Create an App Registration in the Azure portal > Azure Active Directory.
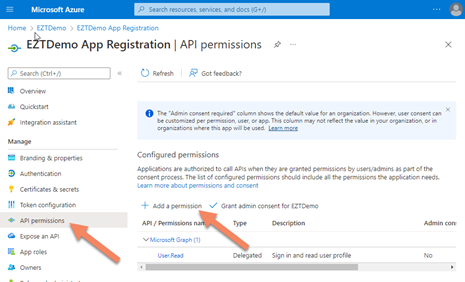
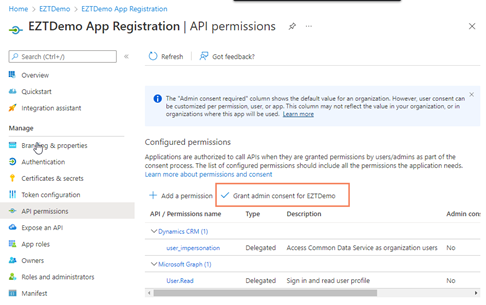
Step 2: Add API permissions
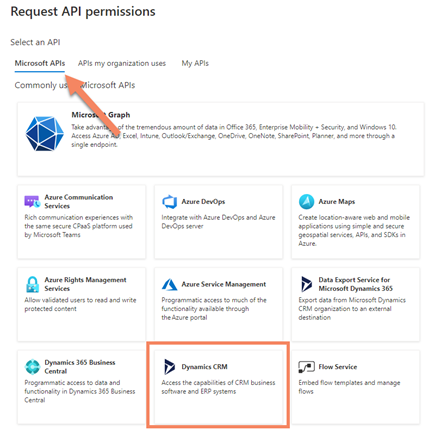
Step 3: Click ‘Delegated permissions and check the options and click on ‘user_impresonation’

Step 4: Select the ‘Manifest’ tab and set the ‘allowPublicClient’ property to true and click ‘Save’.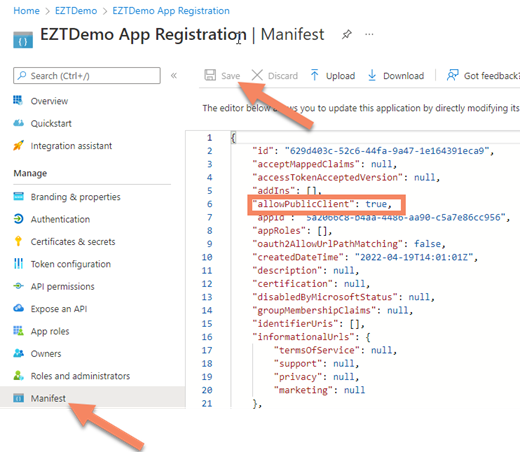
Step 5: Browse to Azure Portal > Enterprise Applications > All applications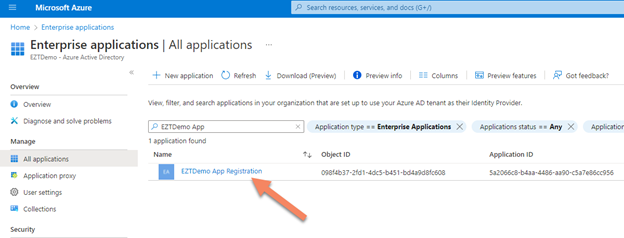

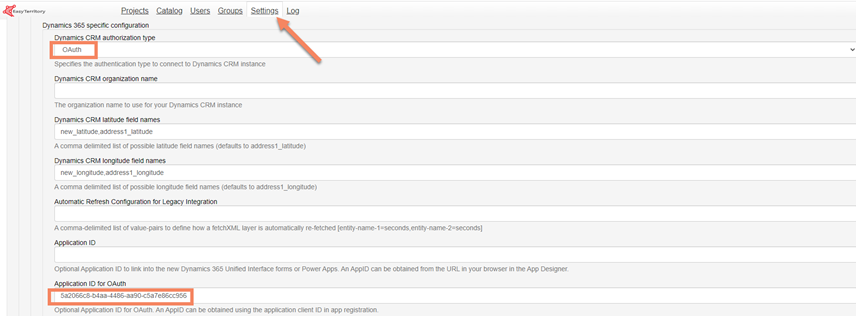
Step 6: Configure OAuth Configuration in you EasyTerritory App.
Step 7: Confirm everything is working correctly by opening up a Advanced Find project and enter your Azure AD credentials.