
June 2019 Release!
The EasyTerritory team is excited to announce the June 2019 release. This release includes a number of application enhancements and performance improvements as well as miscellaneous bug fixes.
New color gradient for the All-Stats panel
The markup statistics (All-Stats) panel allows EasyTerritory users to see statistics of business data overlayed across territories, travel-rings, partitions, and hand-drawn shapes. Historically, cells in the All-Stats panel were highlighted in yellow if greater than or less than 1 standard deviation from the mean and red if greater than or less than 2 standard deviations from the mean. With the June release, there is now a color gradient for all cells.
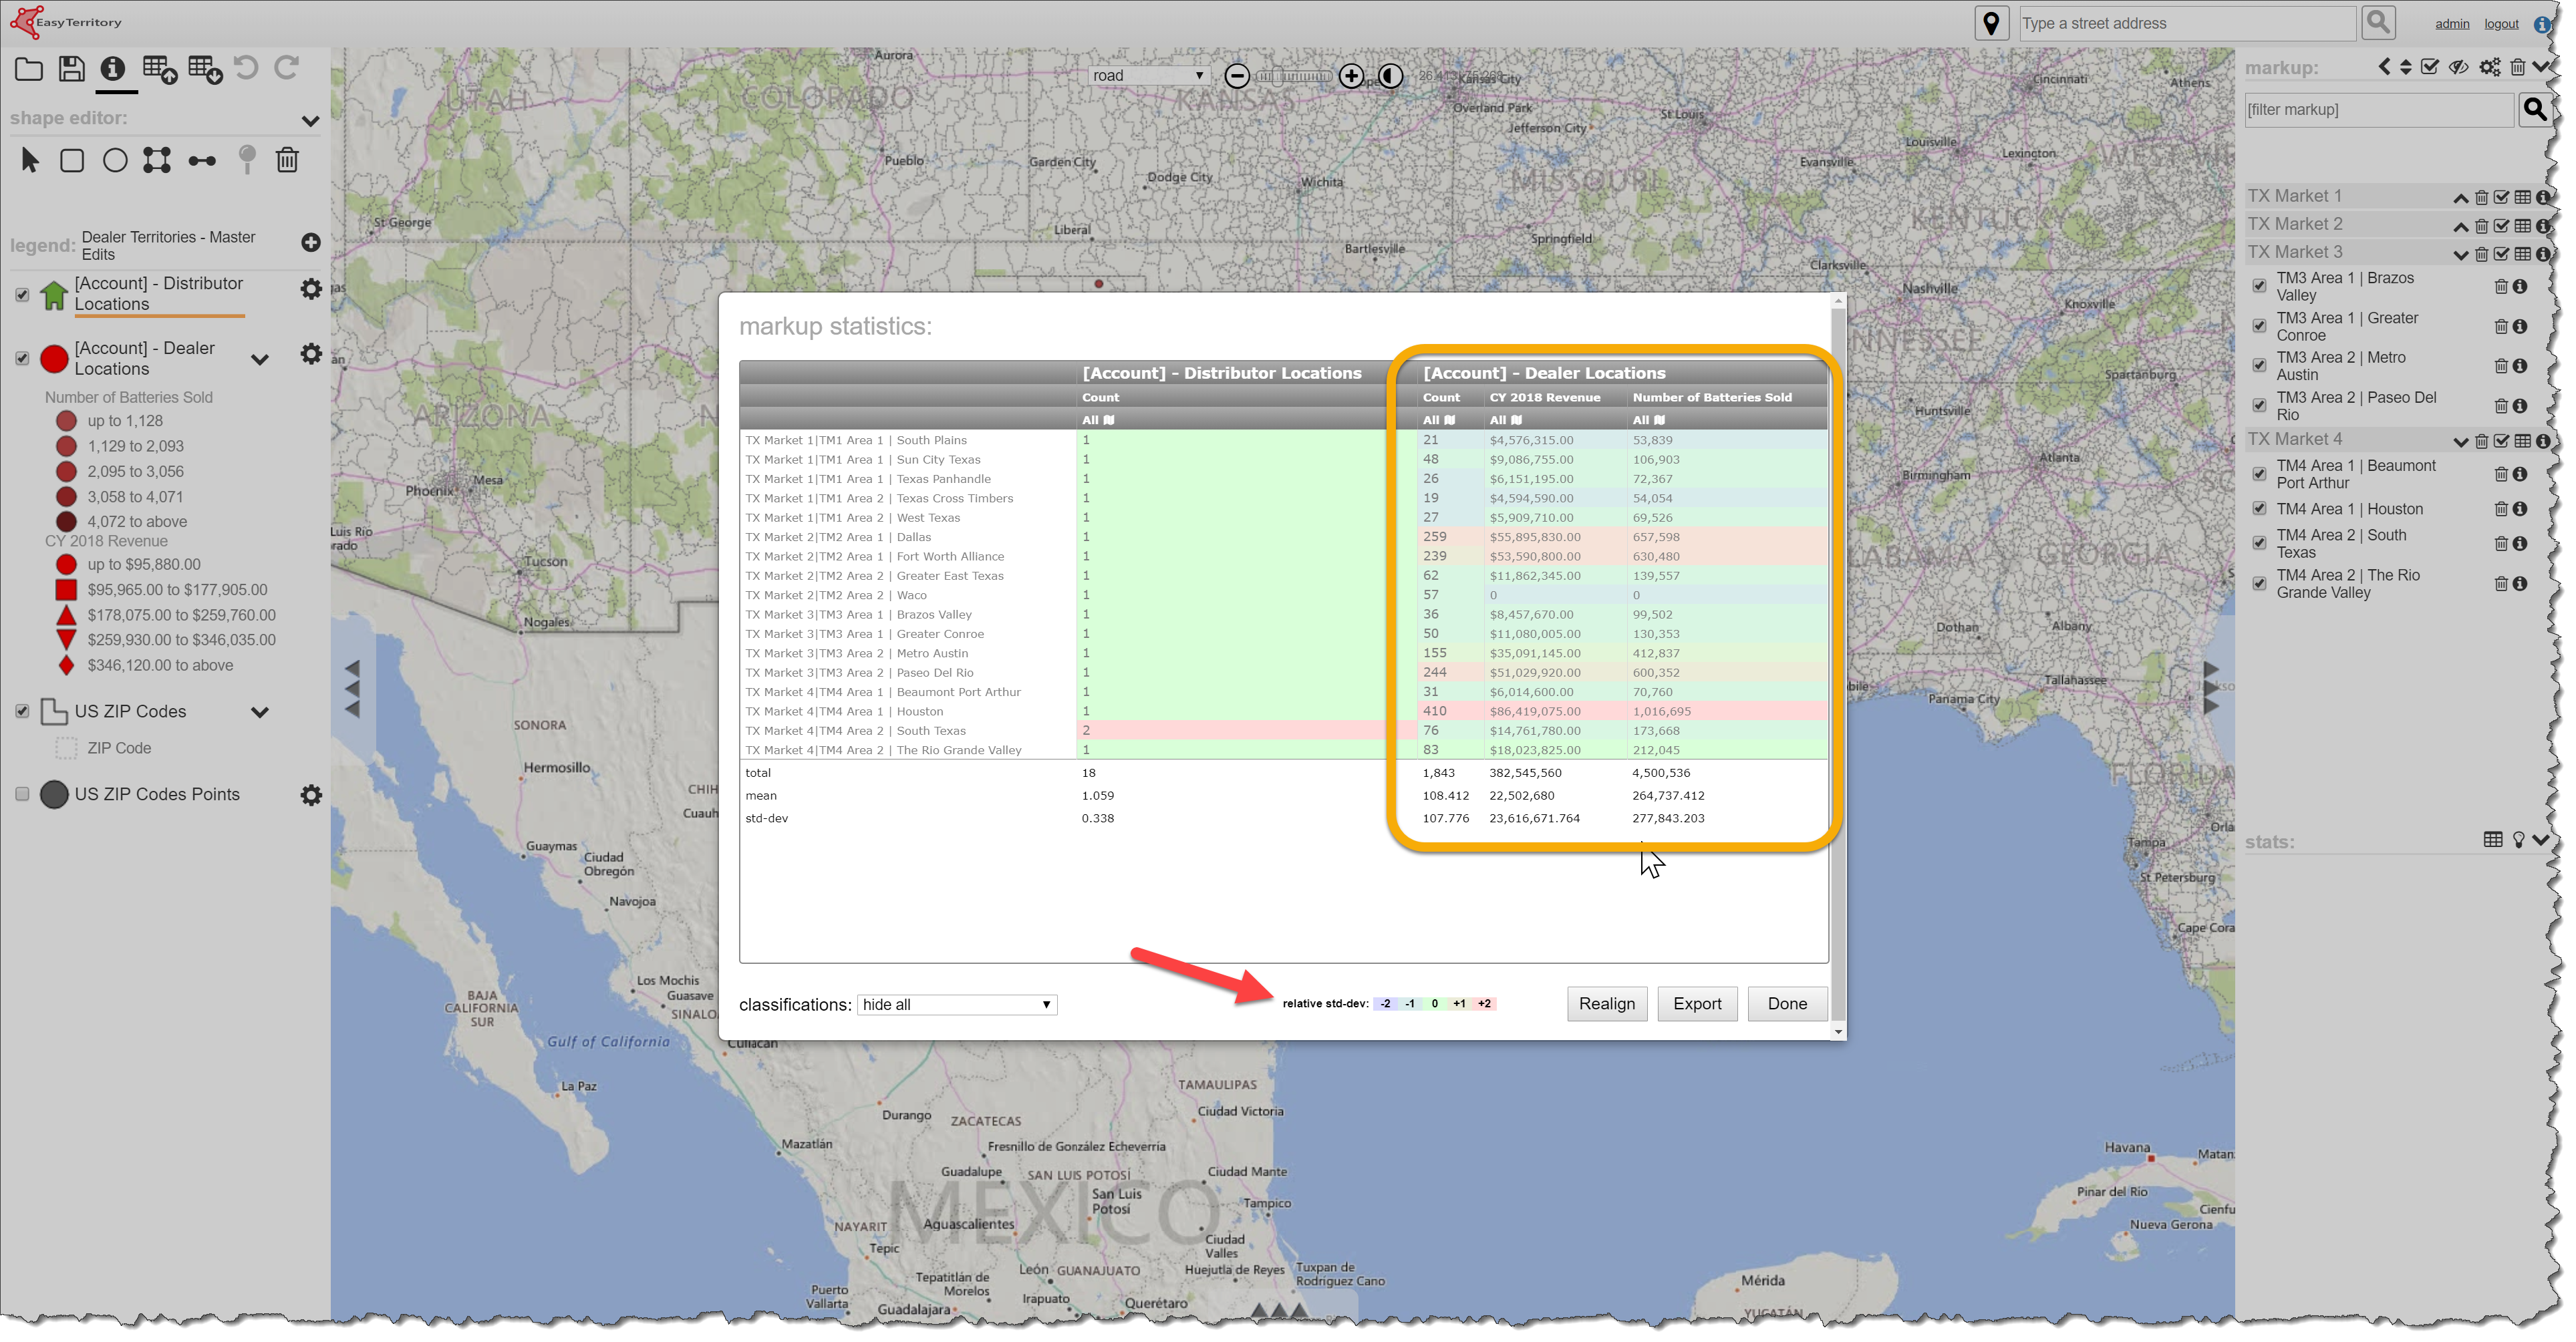
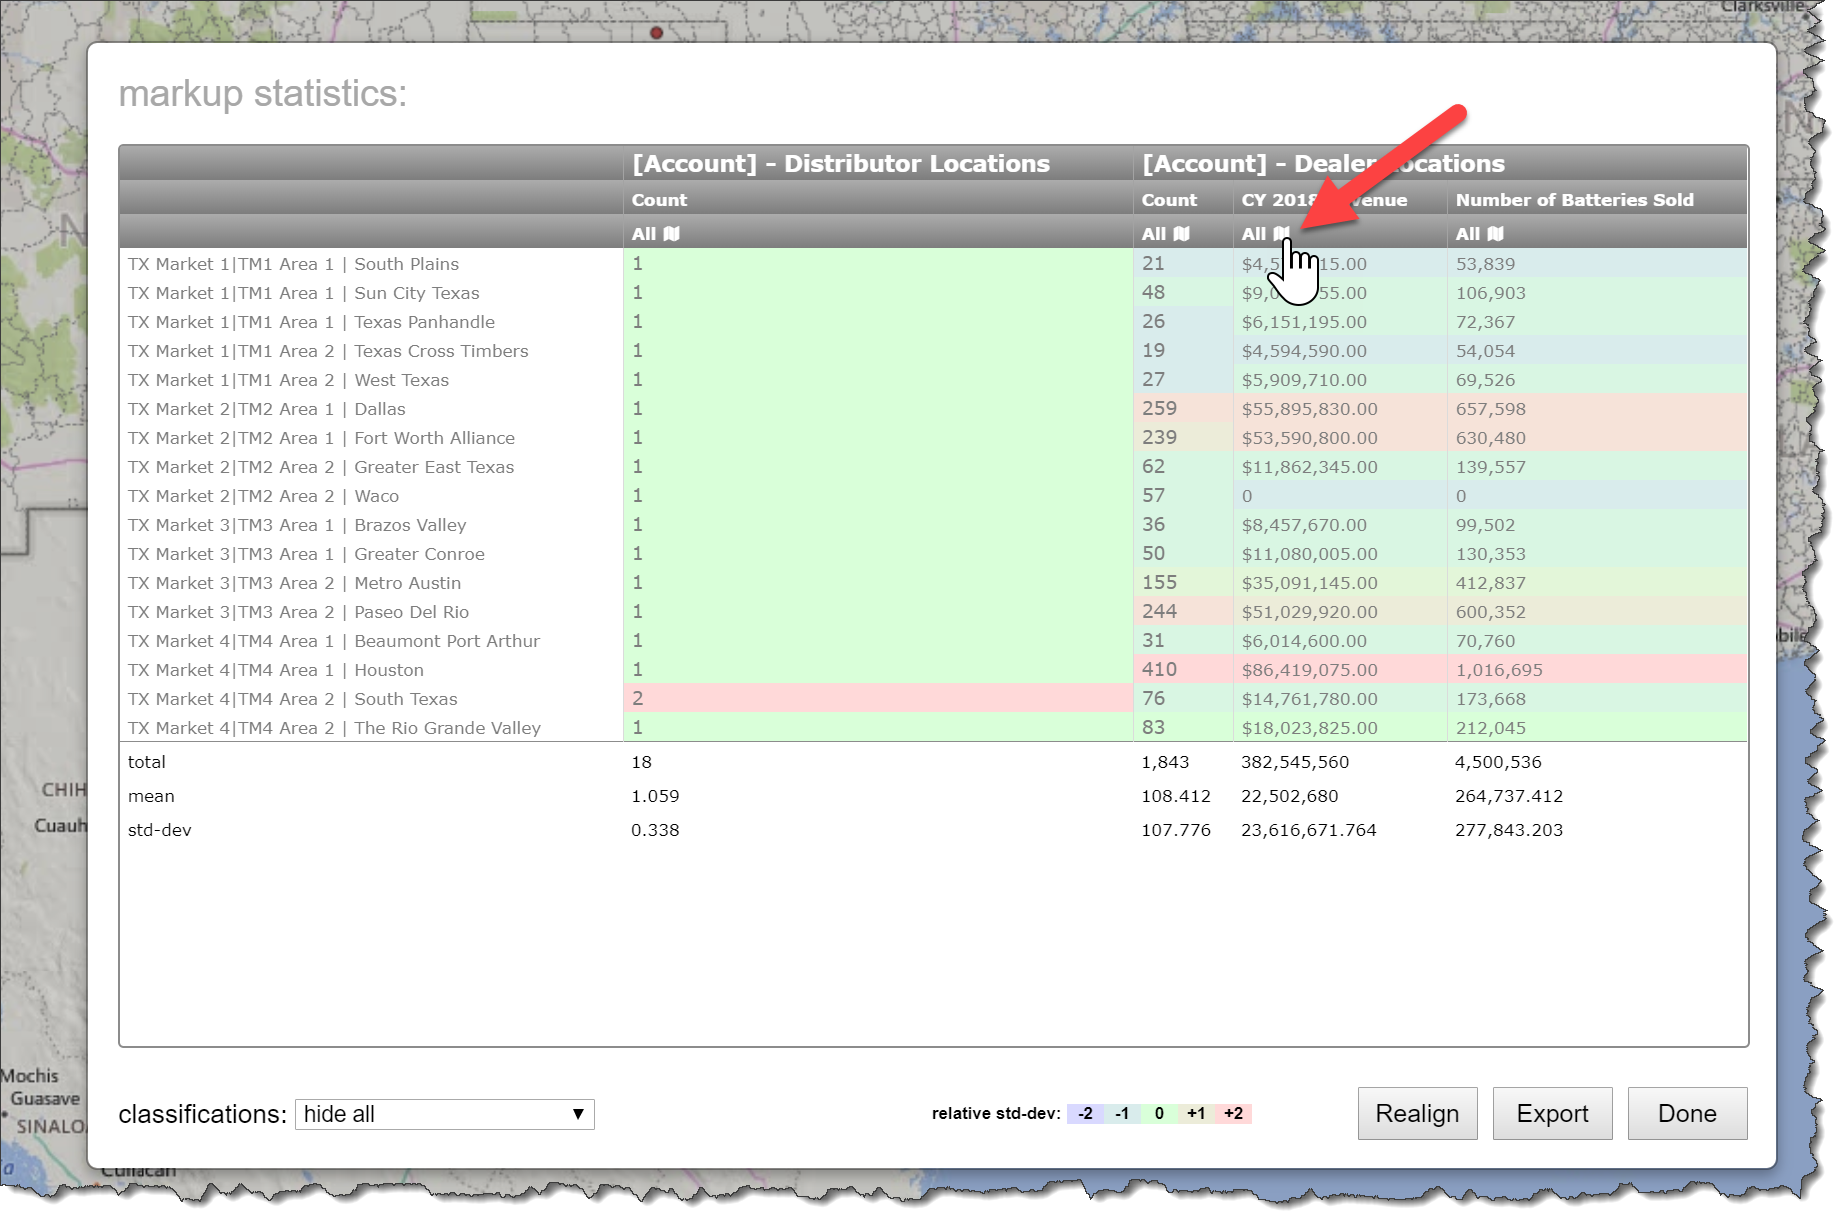
Additionally, users can now color-code the markup polygons based on these values to identify the outliers after closing the All-Stats panel easily. To set the color for the territory shape, click the map icon at the top of the desired column.
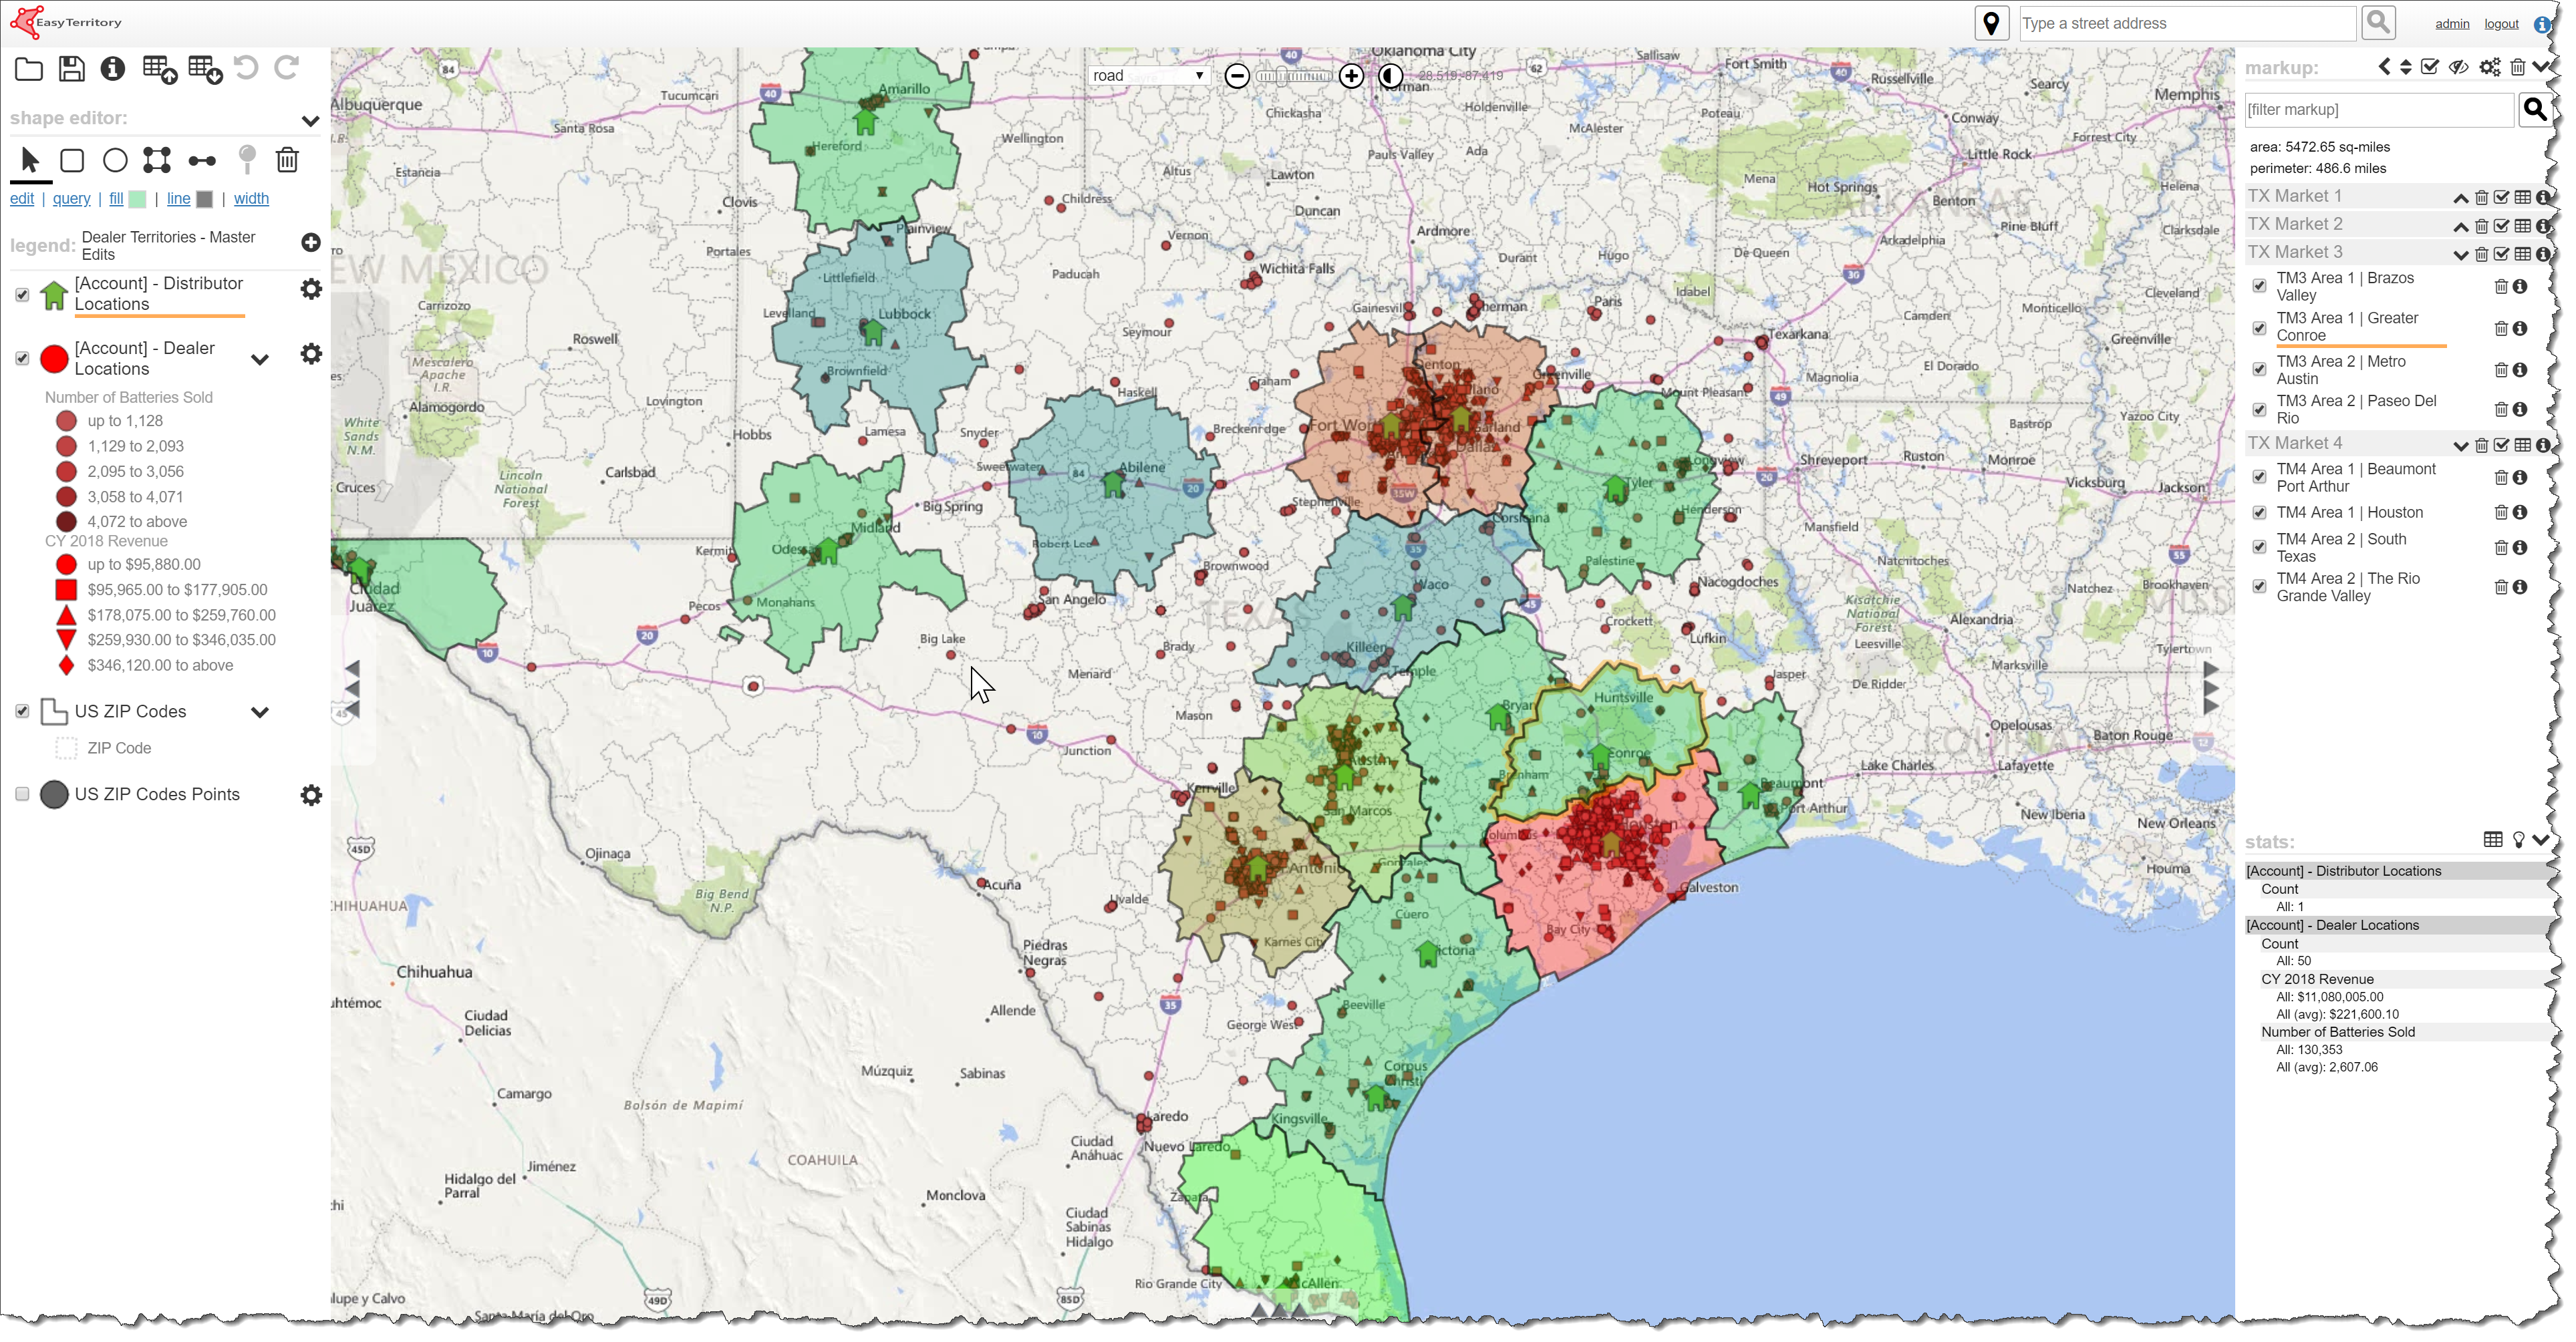
Results look like this on the map!
Enhancements to the Dynamics 365 Layers
Auto-Refresh
EasyTerritory now supports auto-fresh (or should we say “auto-refetch”?) for Dynamics 365 FetchXML layers. This is helpful if you have data in Dynamics that is frequently updated and you’d like to see it dynamically update on the map. For example, if you’re tracking your field service tech locations using the field service mobile, the auto-refresh will all you to see movements of your techs plus incoming work orders in near real-time, without refreshing the app.
To setup auto-refresh, in the EasyTerritory ‘Settings’ panel, add ‘Automatic Refresh Configuration’ for any FetchXML layers that have been converted to ‘Catalog Layers’. The refresh time can be set in seconds.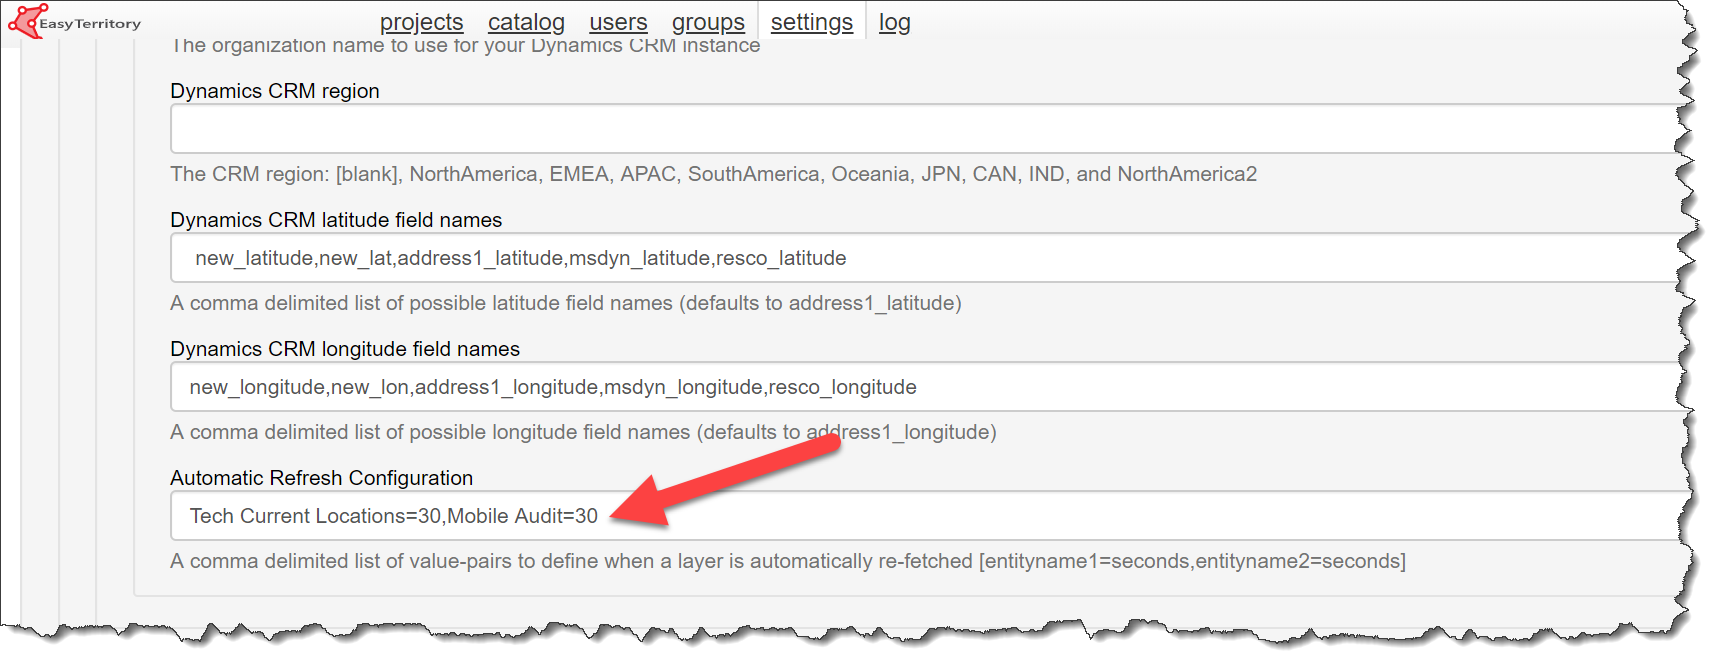
Support for joining data to a FetchXML Layer
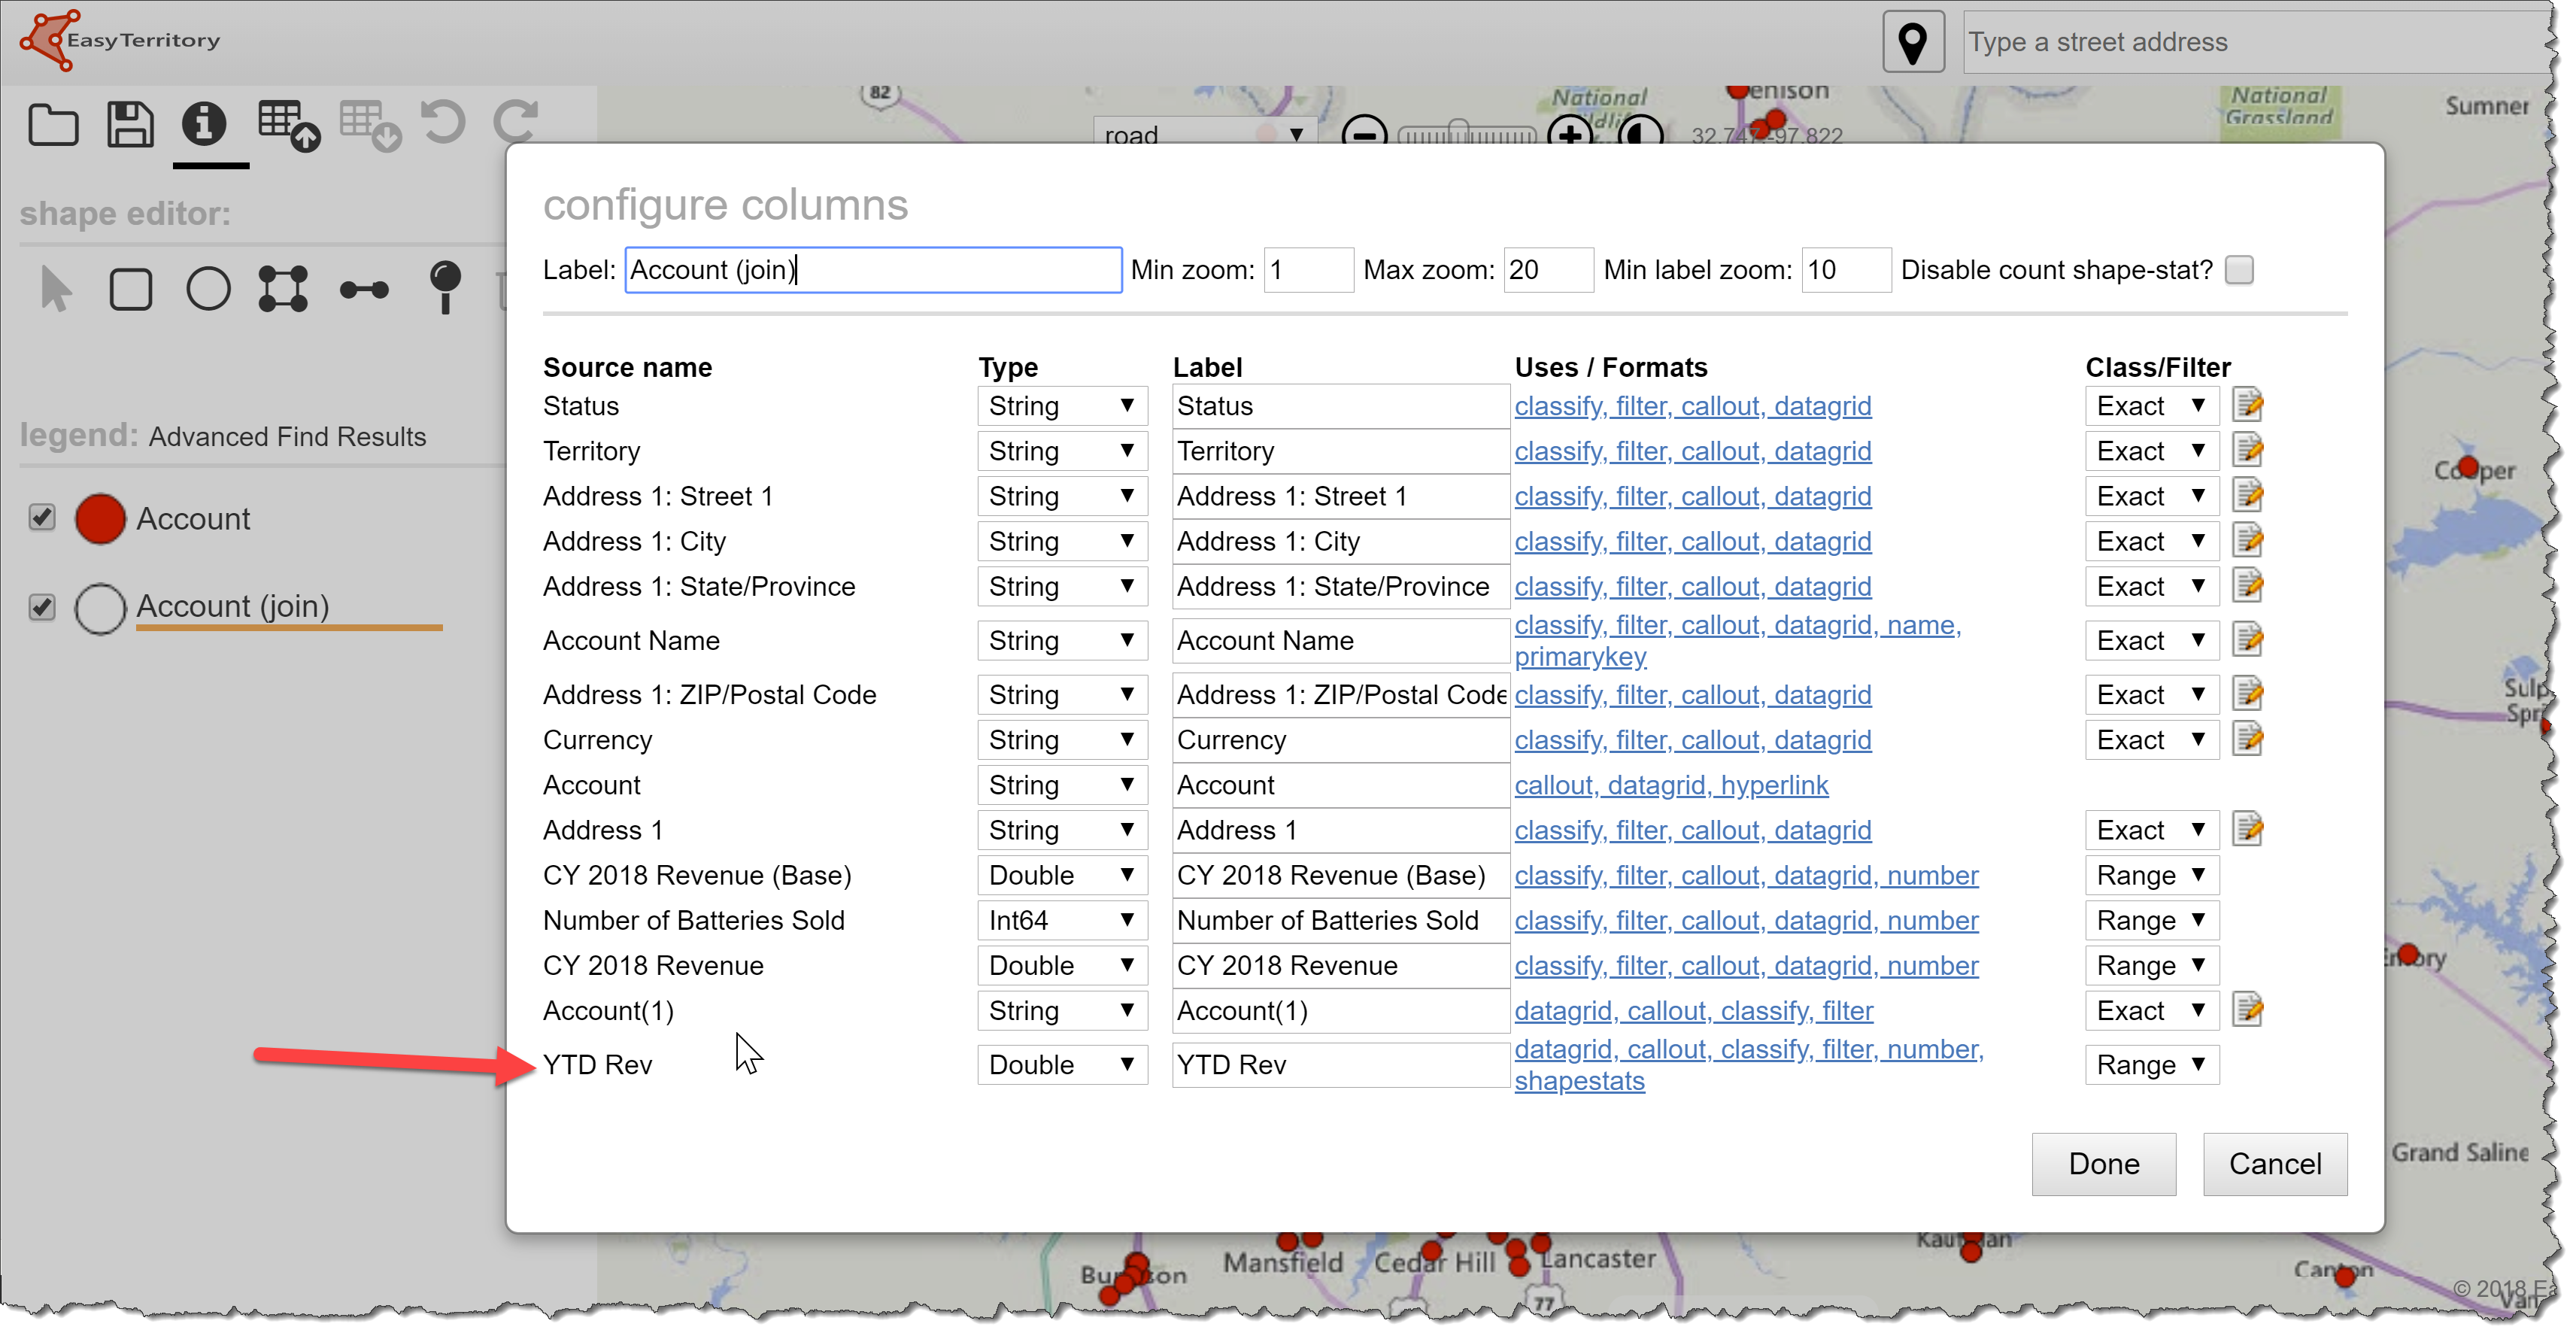
In some scenarios, data may exist in systems outside of D365 and you want to join to a FetchXML layer. For example, a YTD Revenue column from your ERP. With our new Join to FetchXML layer capability, you can now join an external spreadsheet to data from a FetchXML layer. Here are the steps to do the join.
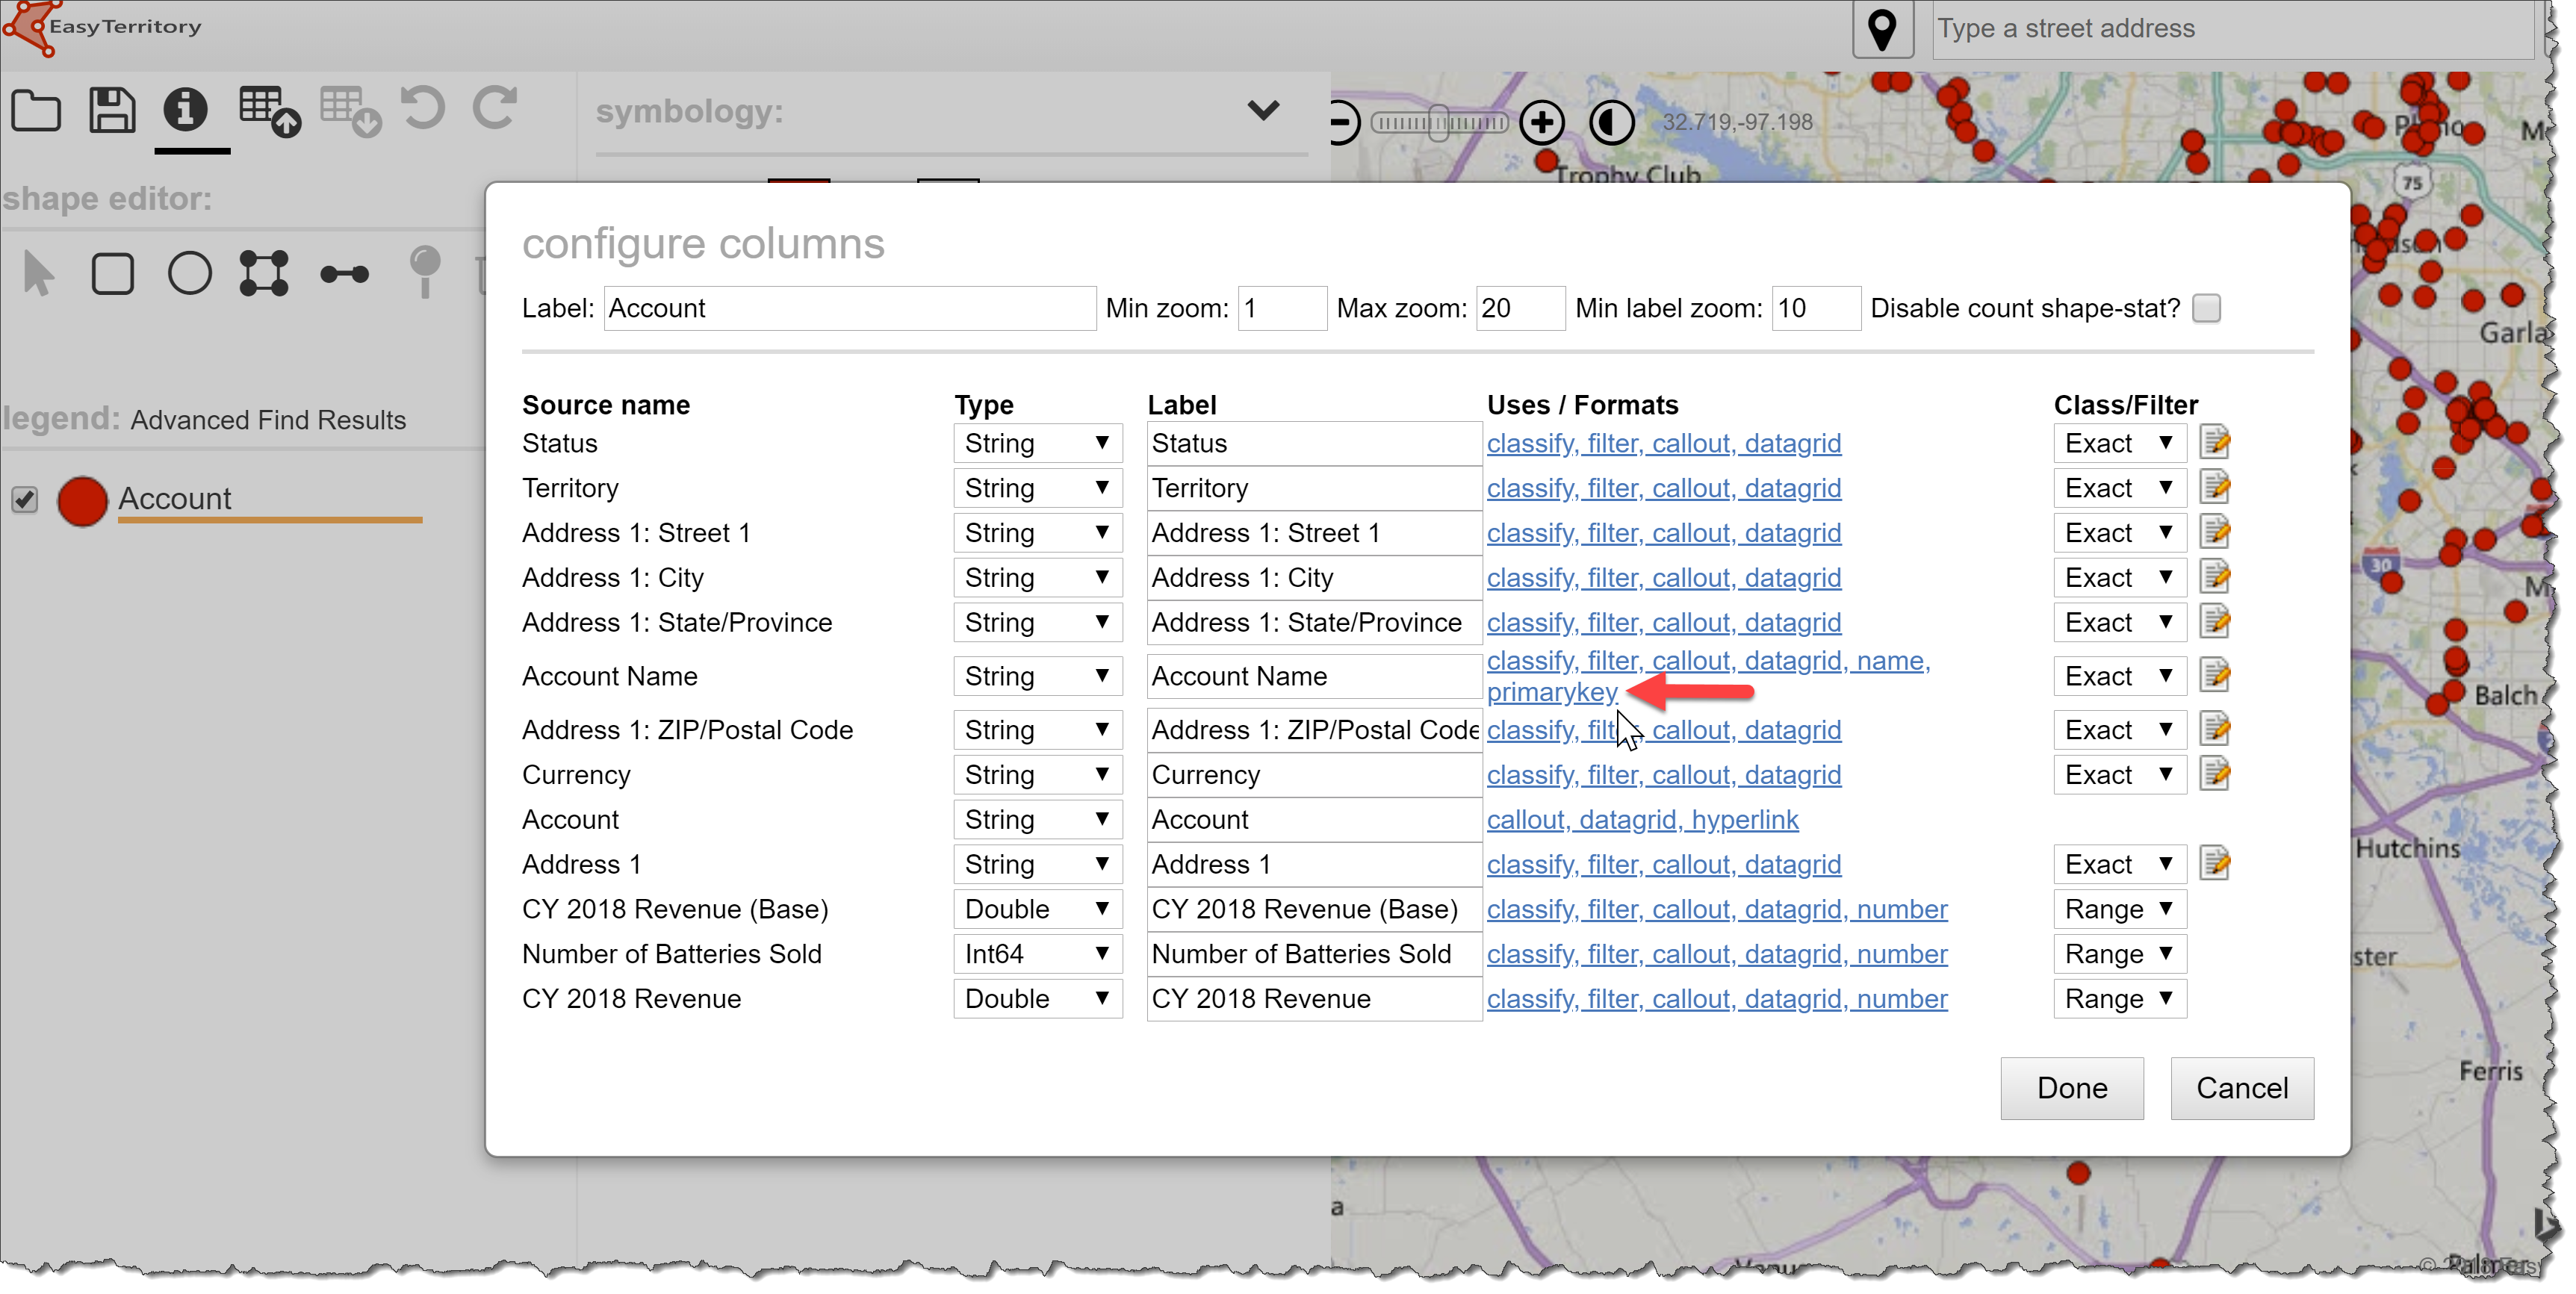
Step 1: Add a FetchXML layer to a project and determine what column you want to join on. You’ll need to remove the primary key from the ID field and set it on the field you want to join on. In this example, we’ll remove the primarykey form the accountid field (the D365 GUID) and set it on the Account Name field.
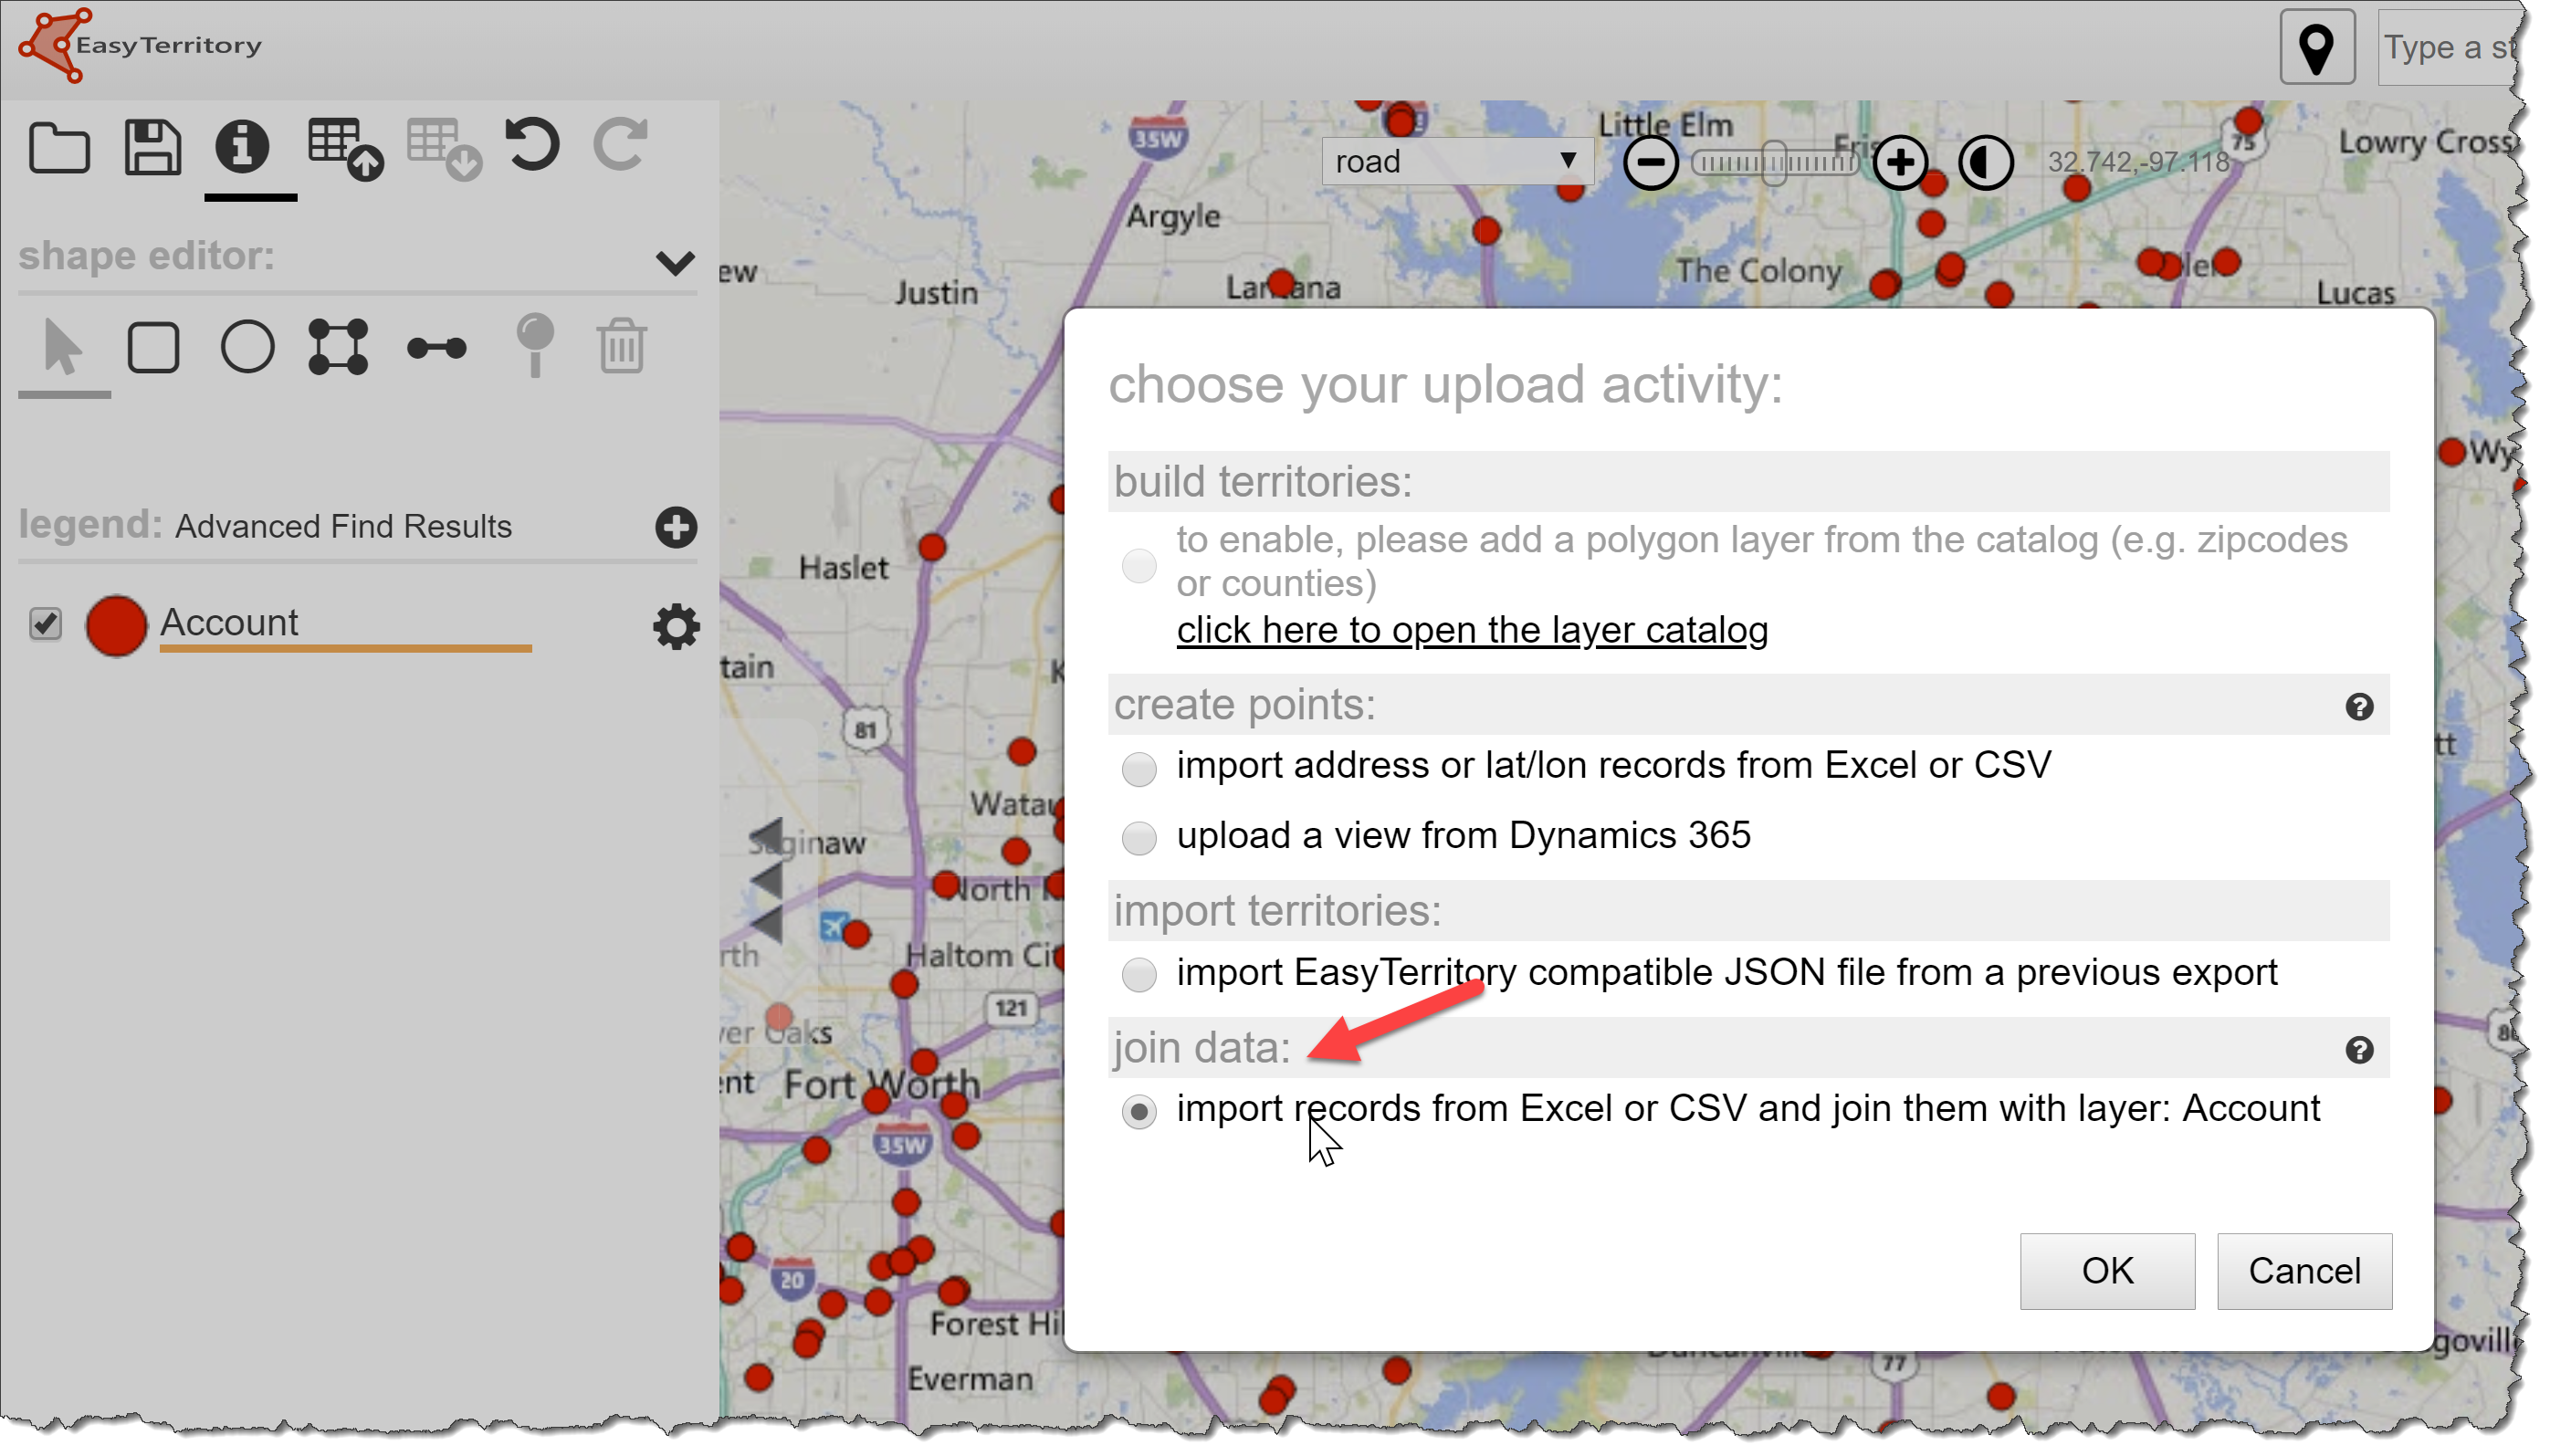
Step 2: Click up and select the ‘Join Data’ option.
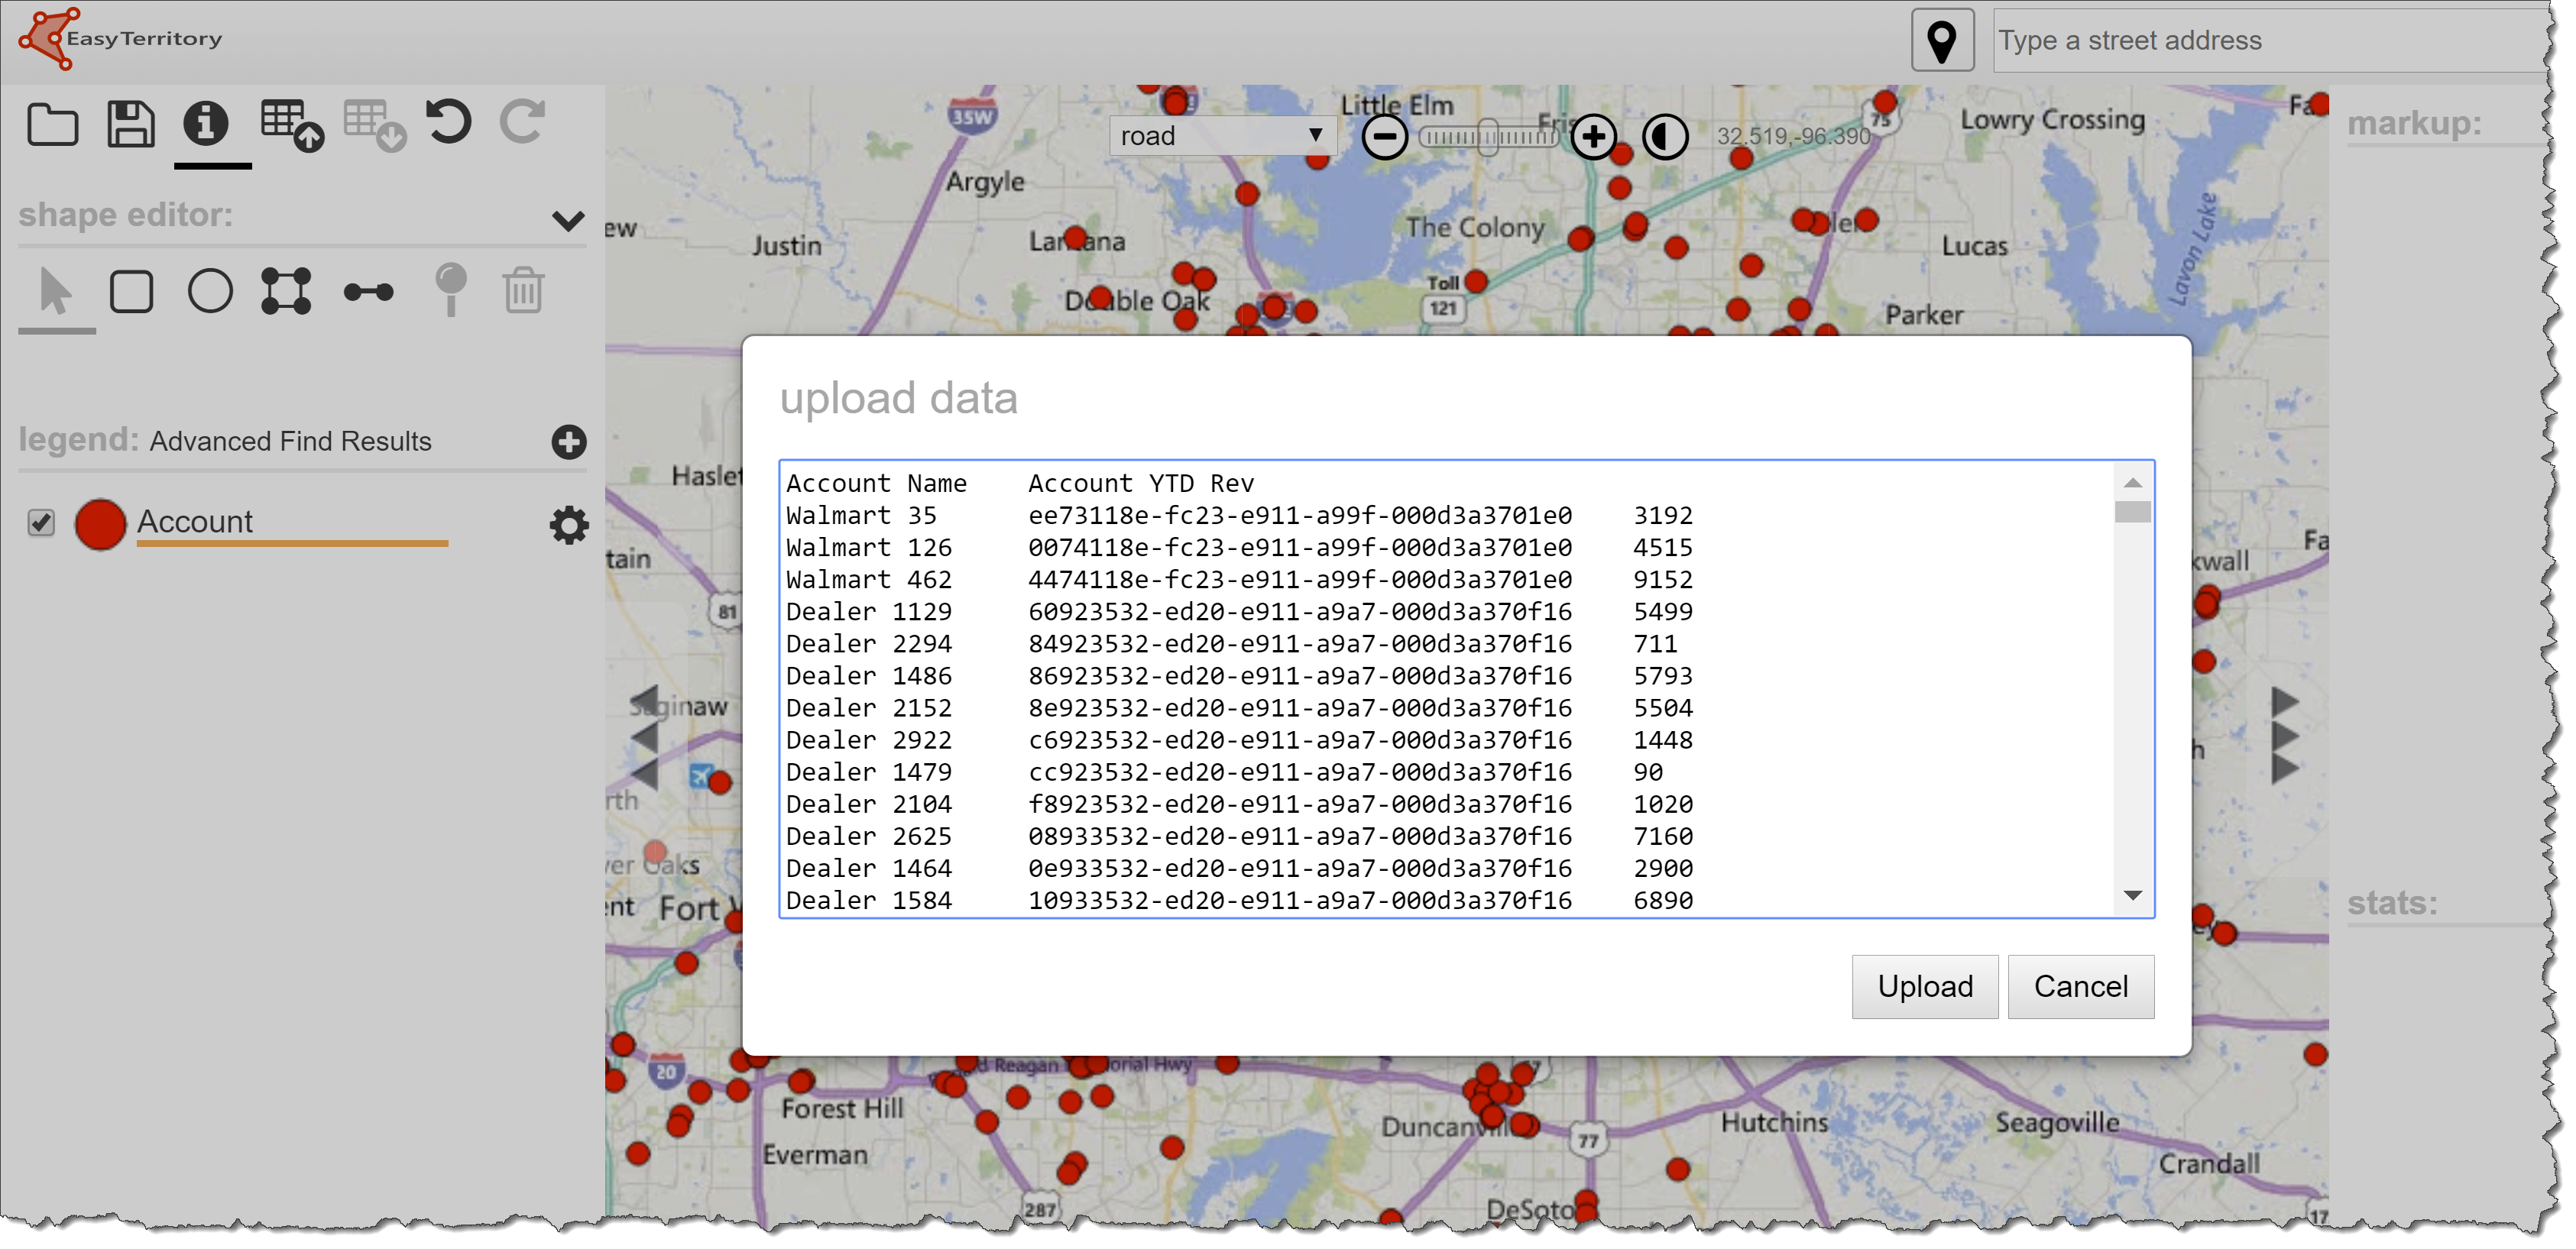
Step 3: Copy your data from Excel or a CSV into the upload dialog.
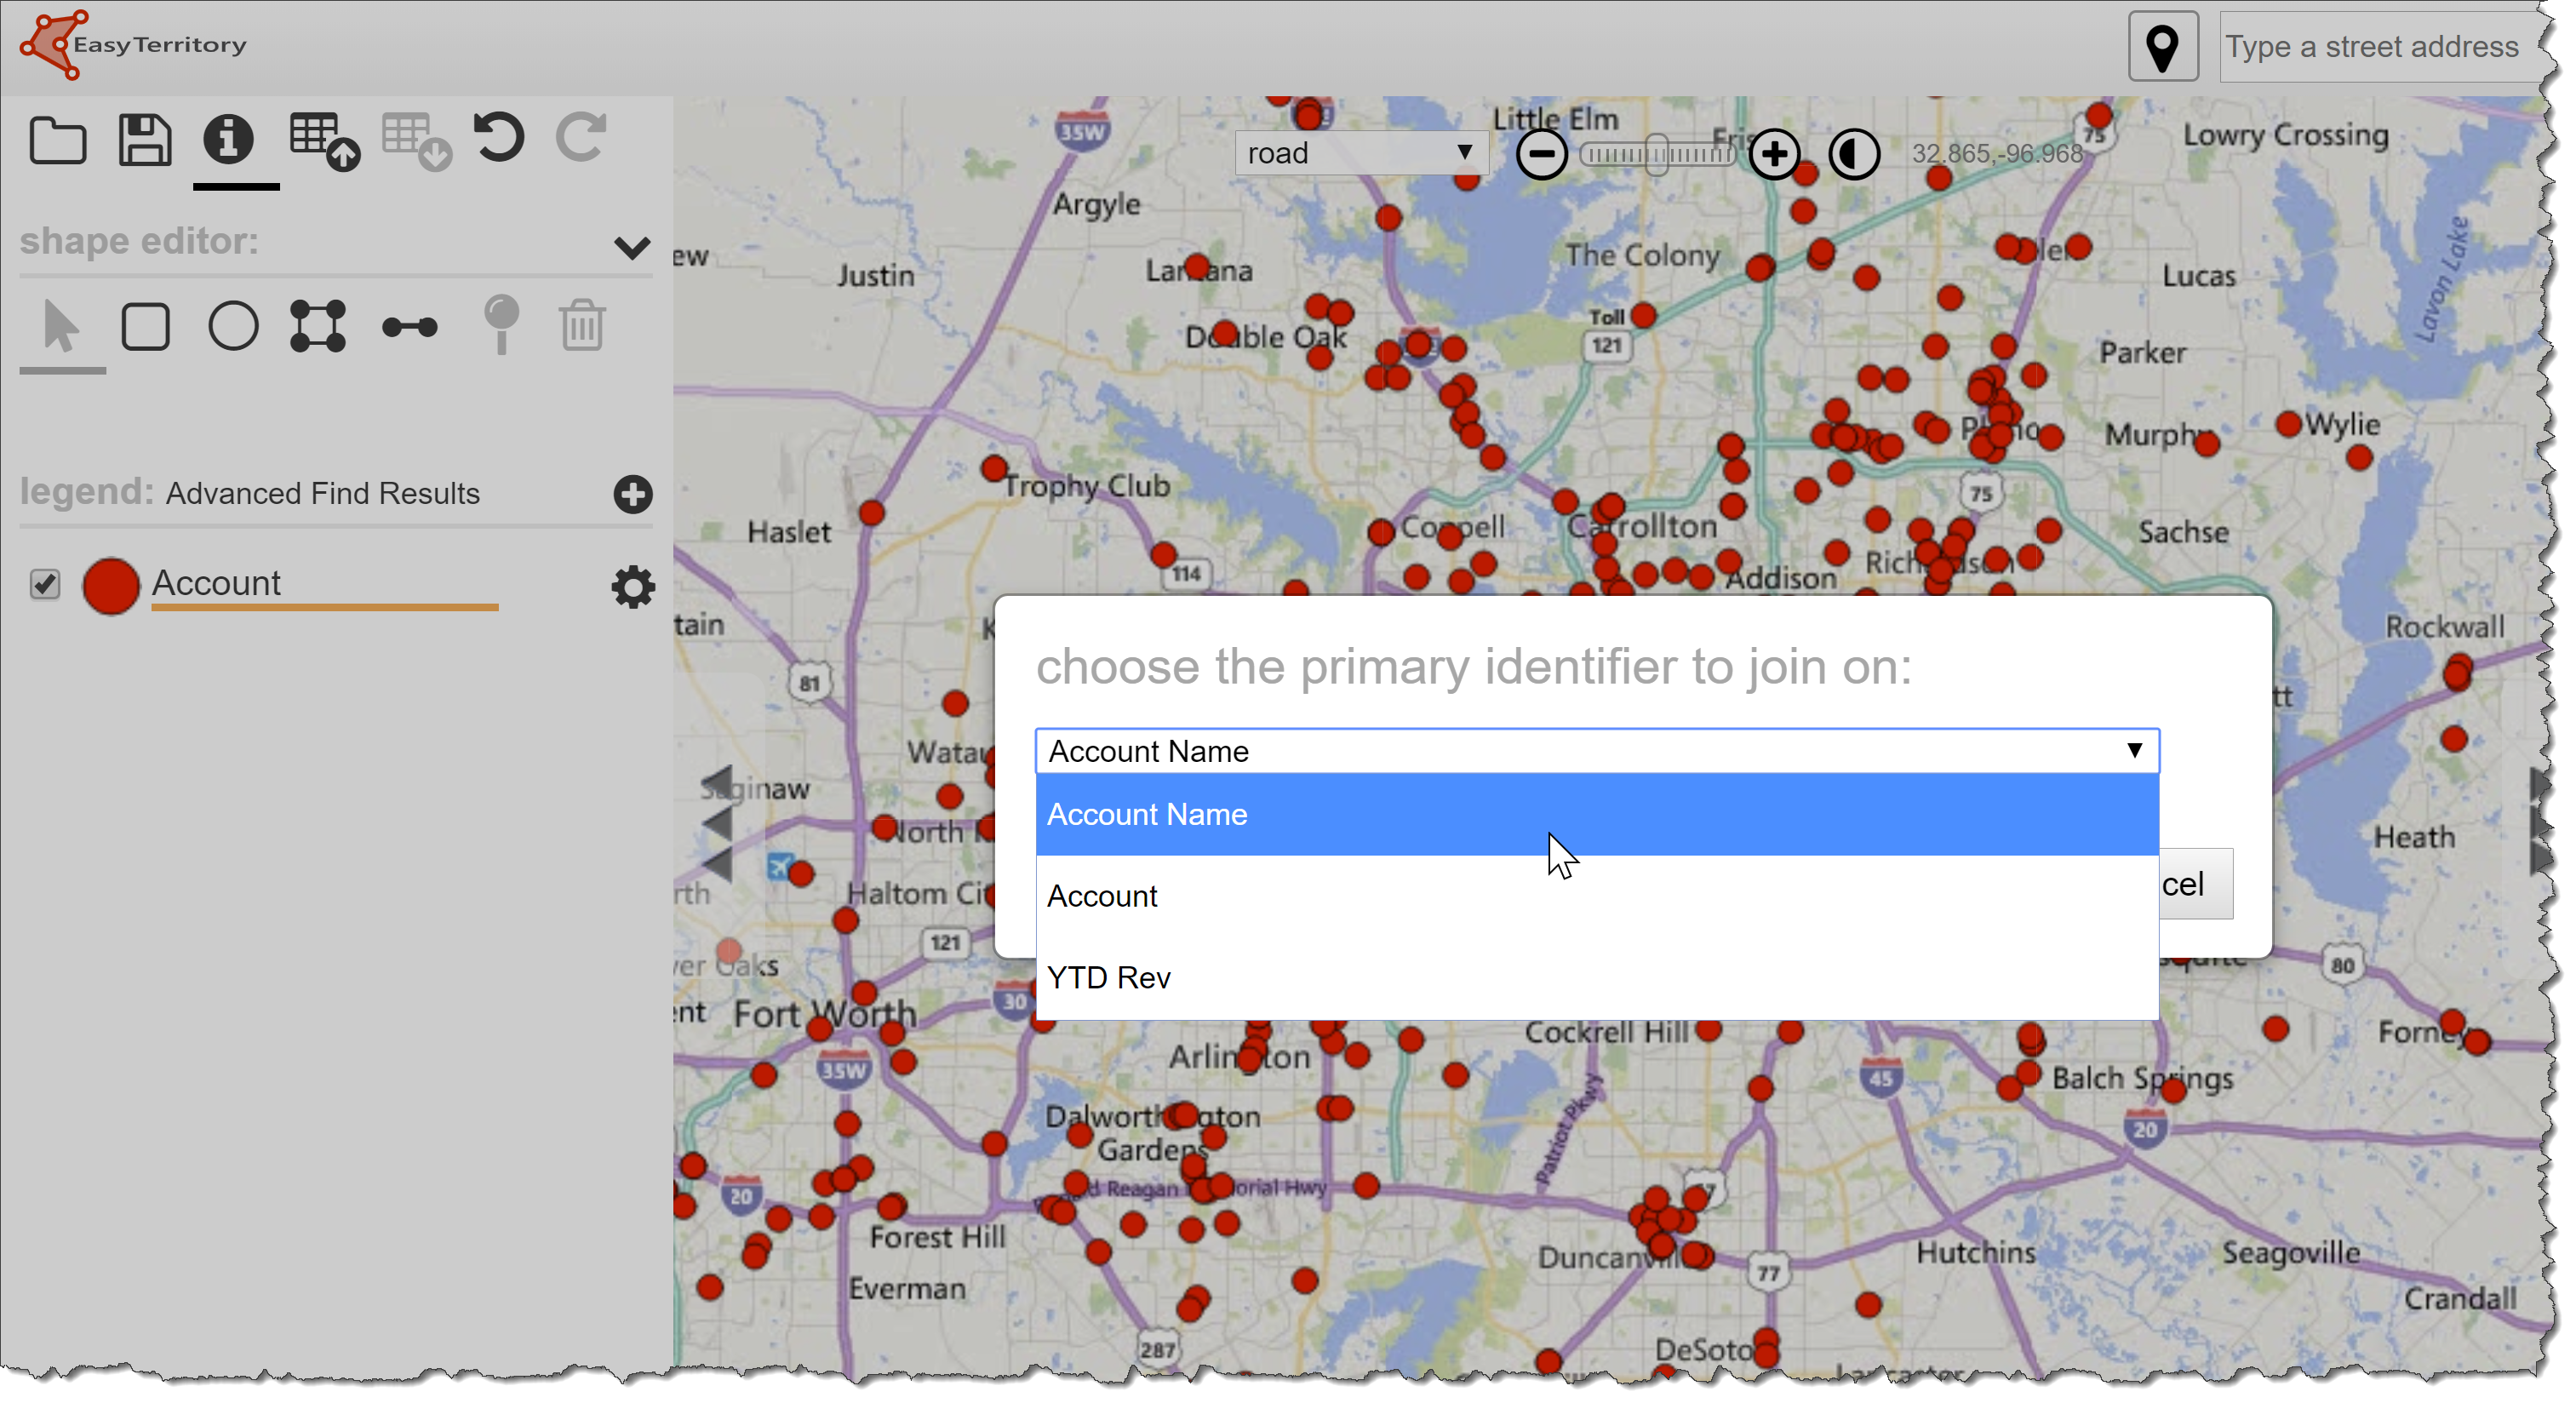
Step 4: Choose the column to join on (the one that matches the primarykey set in step 1).
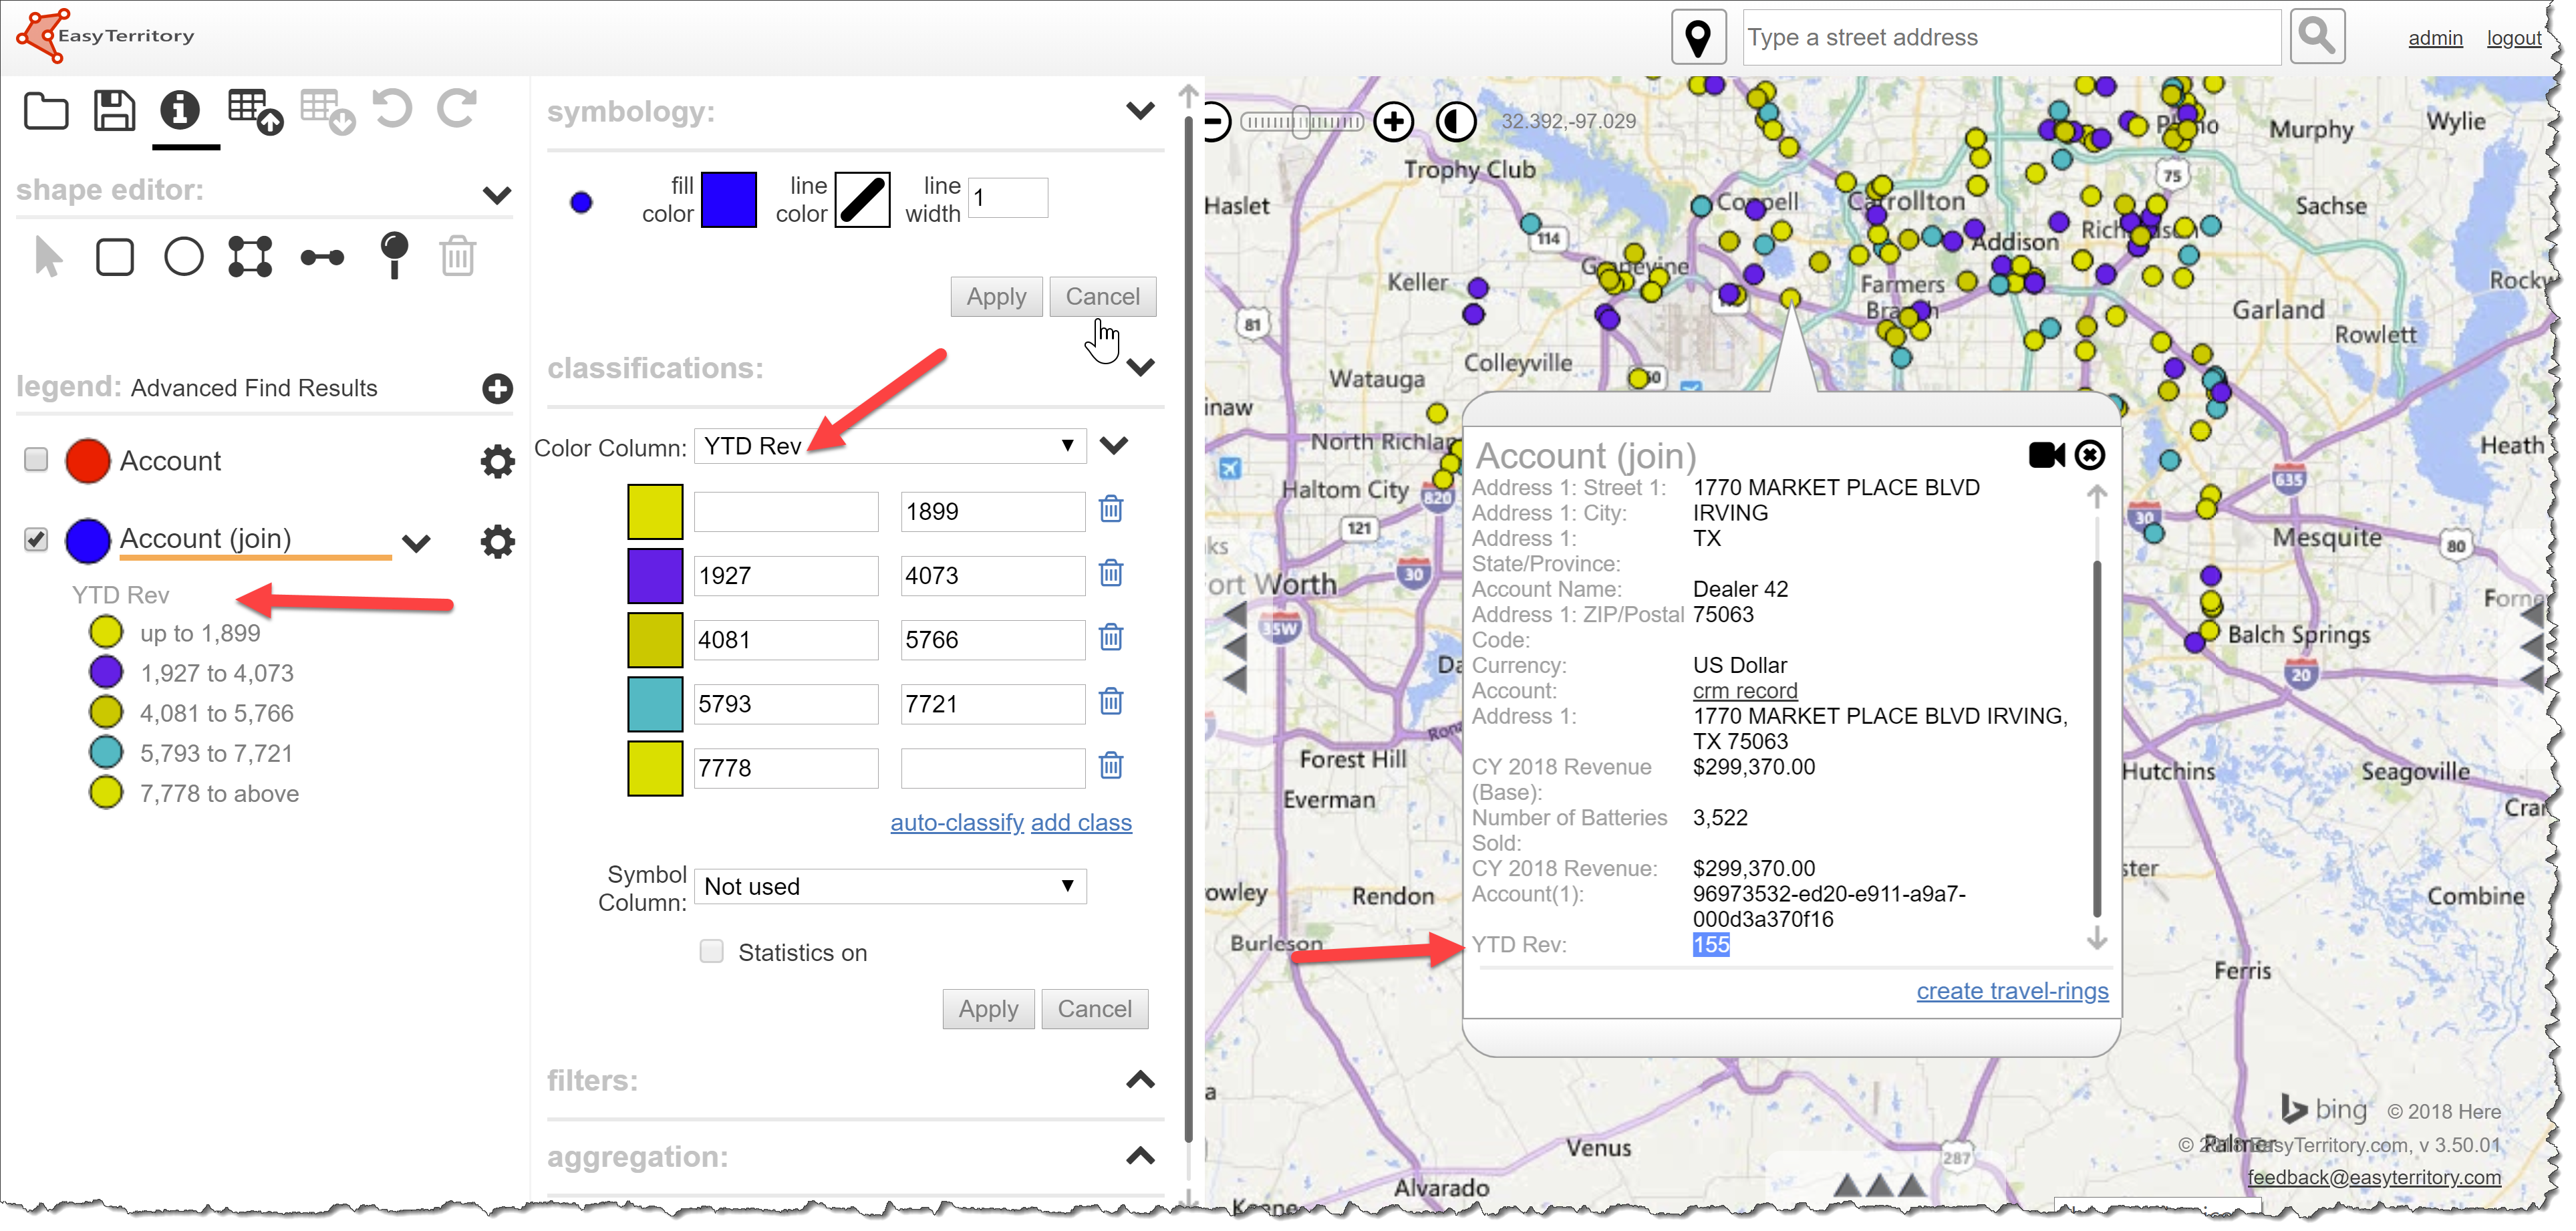
Step 5: Note, the joined data is now a static layer in the project. Join layers are not dynamically linked to the original FetchXML layer so updates in D365 will not appear in the joined layer’s data.
Service User Account Enhancements
We have added support for passing the OIToken as parameter for all ProjectMarkupPolygon service calls. This is very helpful if you’re using the EasyTerritory API and need to make a Javascript call to workaround cross-site scripting.
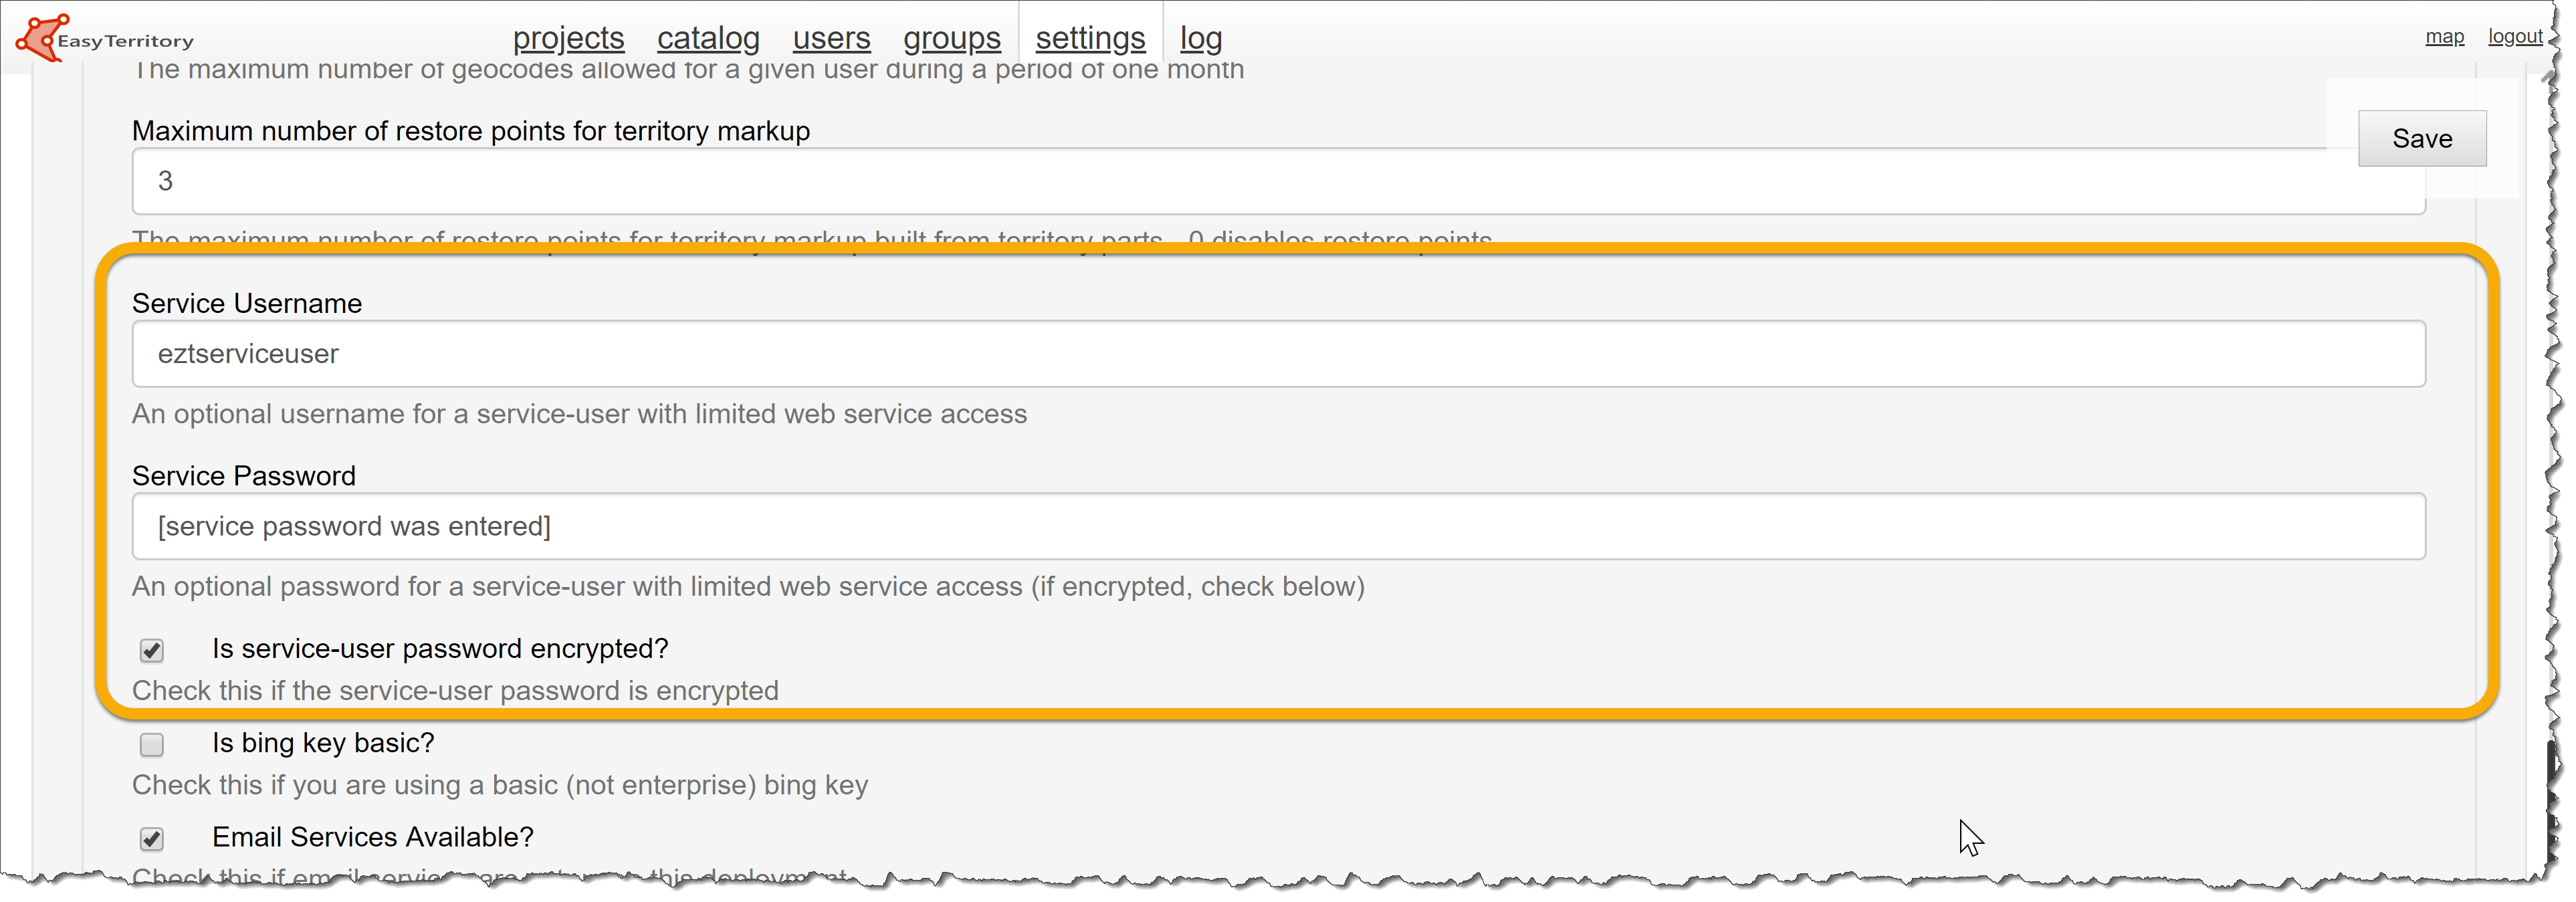
EasyTerritory now supports setting the service user in the ‘Admin’ panel. Encrypted Service User accounts passwords still needed to be requested through support.
User Management Enhancements
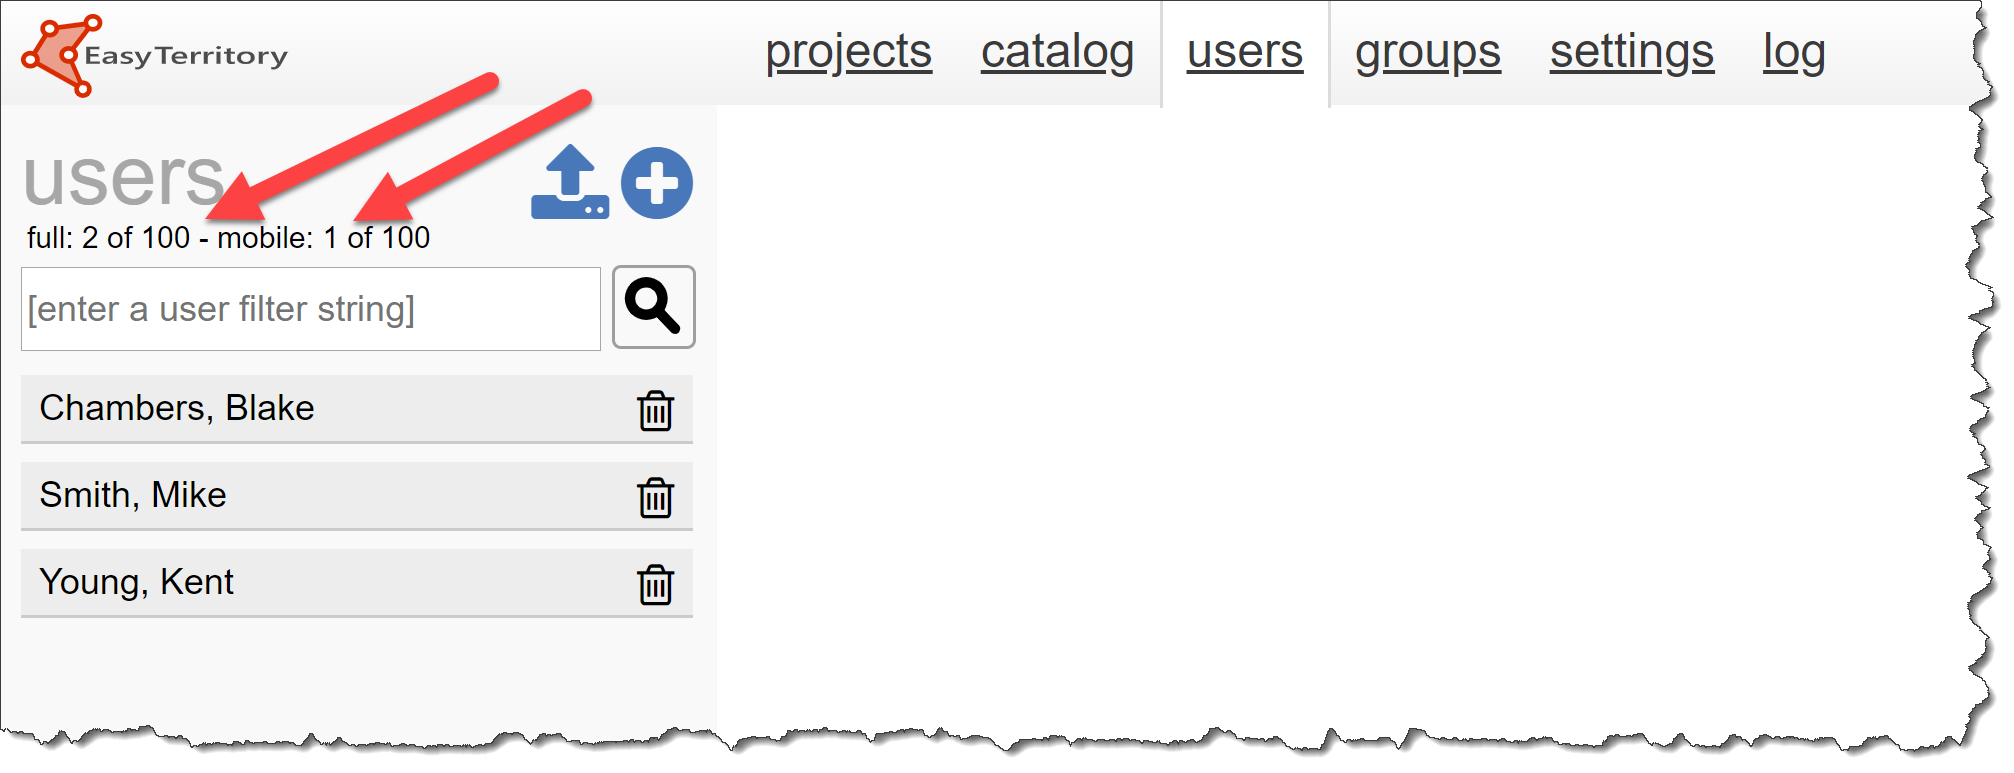
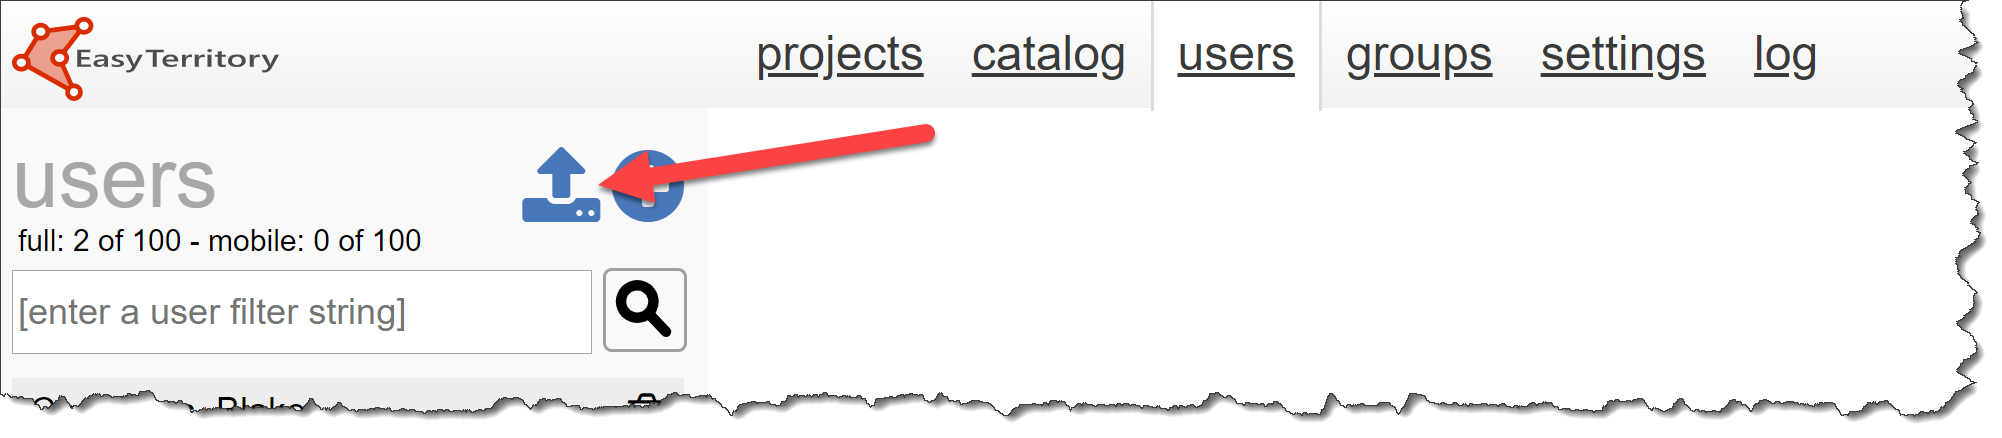
EasyTerritory admins will notice a few new items in the ‘User’ management tab in the administration panel. A report of total Full access and Mobile-only access counts are now visible to EasyTerritory Admins.
We’ve also added support for uploading your initial user list into EasyTerritory. Click here are the full instructions and a template for importing.
For more information on the June 2019 release, please email us at support@easyterritory.com.
