Configuring Reference Layers for the Territory Visual for Power BI

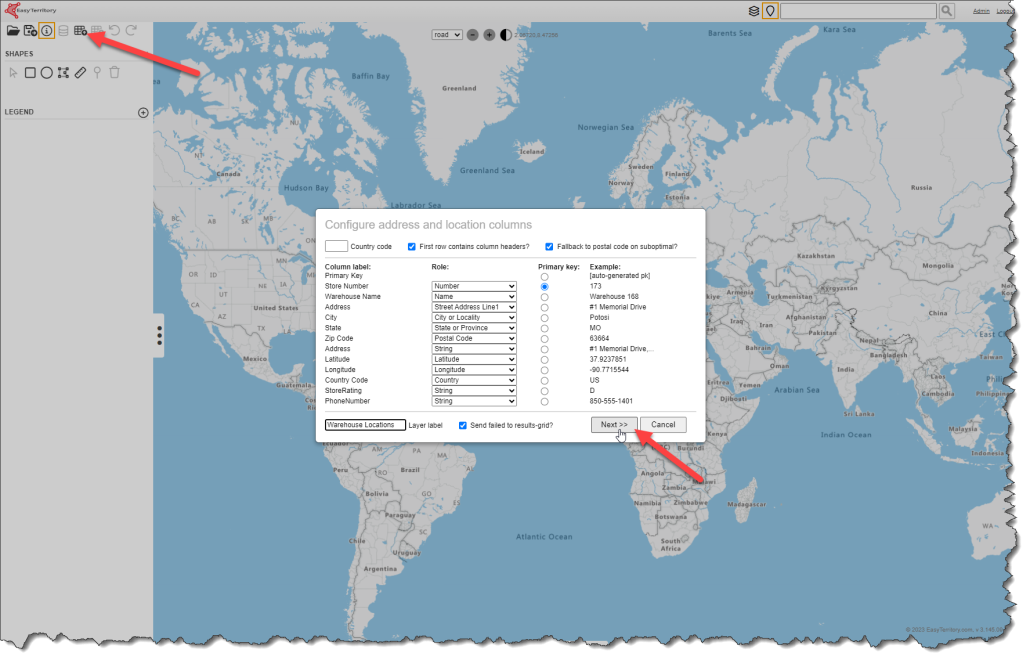
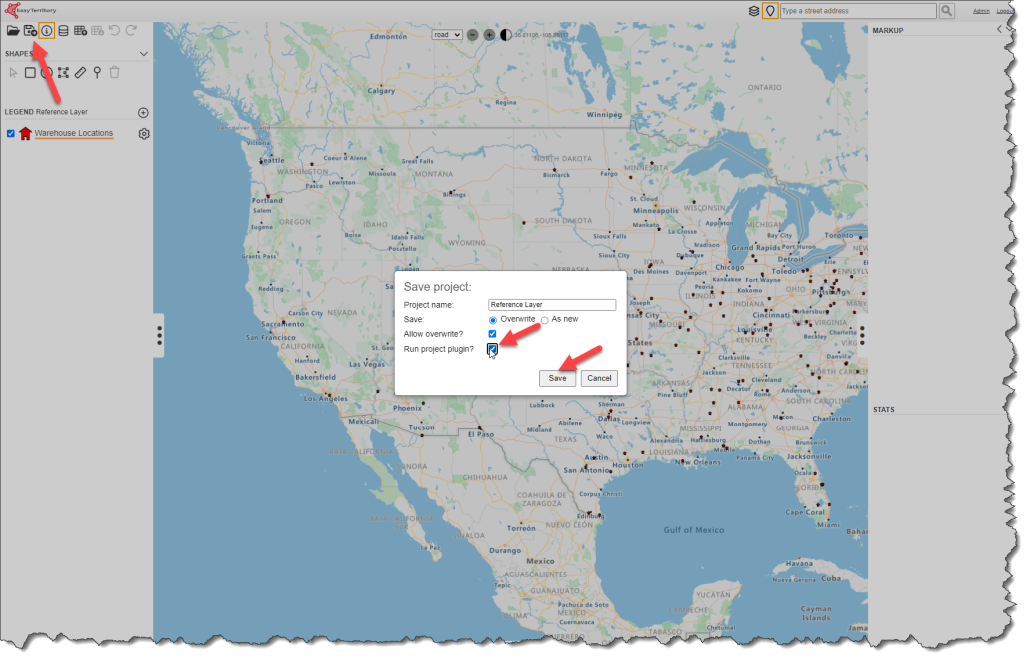
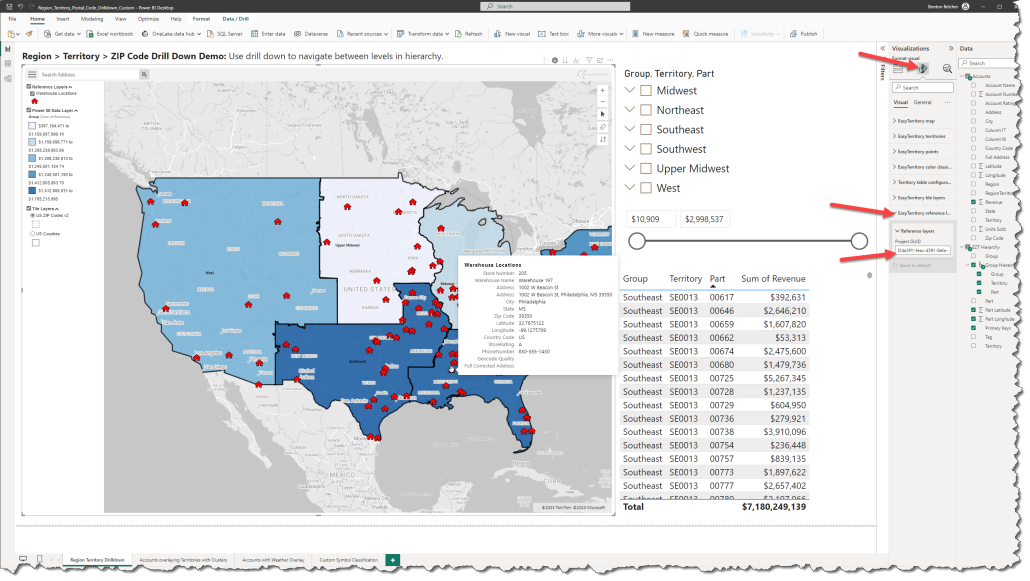
The reference point layers’ purpose is to display static point data that is not in your Power BI data model. A reference point layer can be overlayed with your primary Power BI data layer (territory polygons or point location data). The reference data layer is hosted in the EasyTerritory Web Portal and displayed in the visual at run-time.

One use case would be in the field service industry. You may need to overlay warehouse locations as a static reference layer with your service call locations from your Power BI data model, reference layers make that easy!

Setup Steps

  • Step 1. Upload your point layer into a new project in the EasyTerritory web portal.
  • PLEASE NOTE: This must be separate project than your territory project. Additionally, each reference layer should be its own layer (upload) in the project. The Territory Visual does not currently support the Auto-Classification from an EasyTerritory Project.
  • Step 2. Set your point symbology for the reference layer. You can choose any symbol from the symbol library. Adjust the color and size. Size 10 translates to a good default size in the Territory Visual.
  • Step 3. Save the new project and copy the new project ID to your clip board.
  • Step 4. In the Admin Panel of the EasyTerritory Web Portal, configure a Project Plugin with your Project ID.
  • Name: Description of the project.
  • Assembly: OpenIntel.Plugins.SaveProjectLayers
  • Class: OpenIntel.Plugins.SaveProjectLayers.PostProjectSave
  • Project ID: Project ID with the reference layers.
  • Step 5. Reload the project and save again selecting the Run Project Plugin option. You should see a status in the lower left corner of the application.
  • Step 6. In Power BI, select the Territory Visual and set the Project ID property in the Reference Layers section of the Format Panel