At the EasyTerritory 3.04.01 release, there is now support for integrating your EasyTerritory site with SugarCRM (v9 or higher) to map your data and perform territory assignments. With EasyTerritory organizations can map address data from any SugarCRM module, overlaying the records on Bing Maps or Azure Maps.
Follow these steps to map records from SugarCRM into EasyTerritory
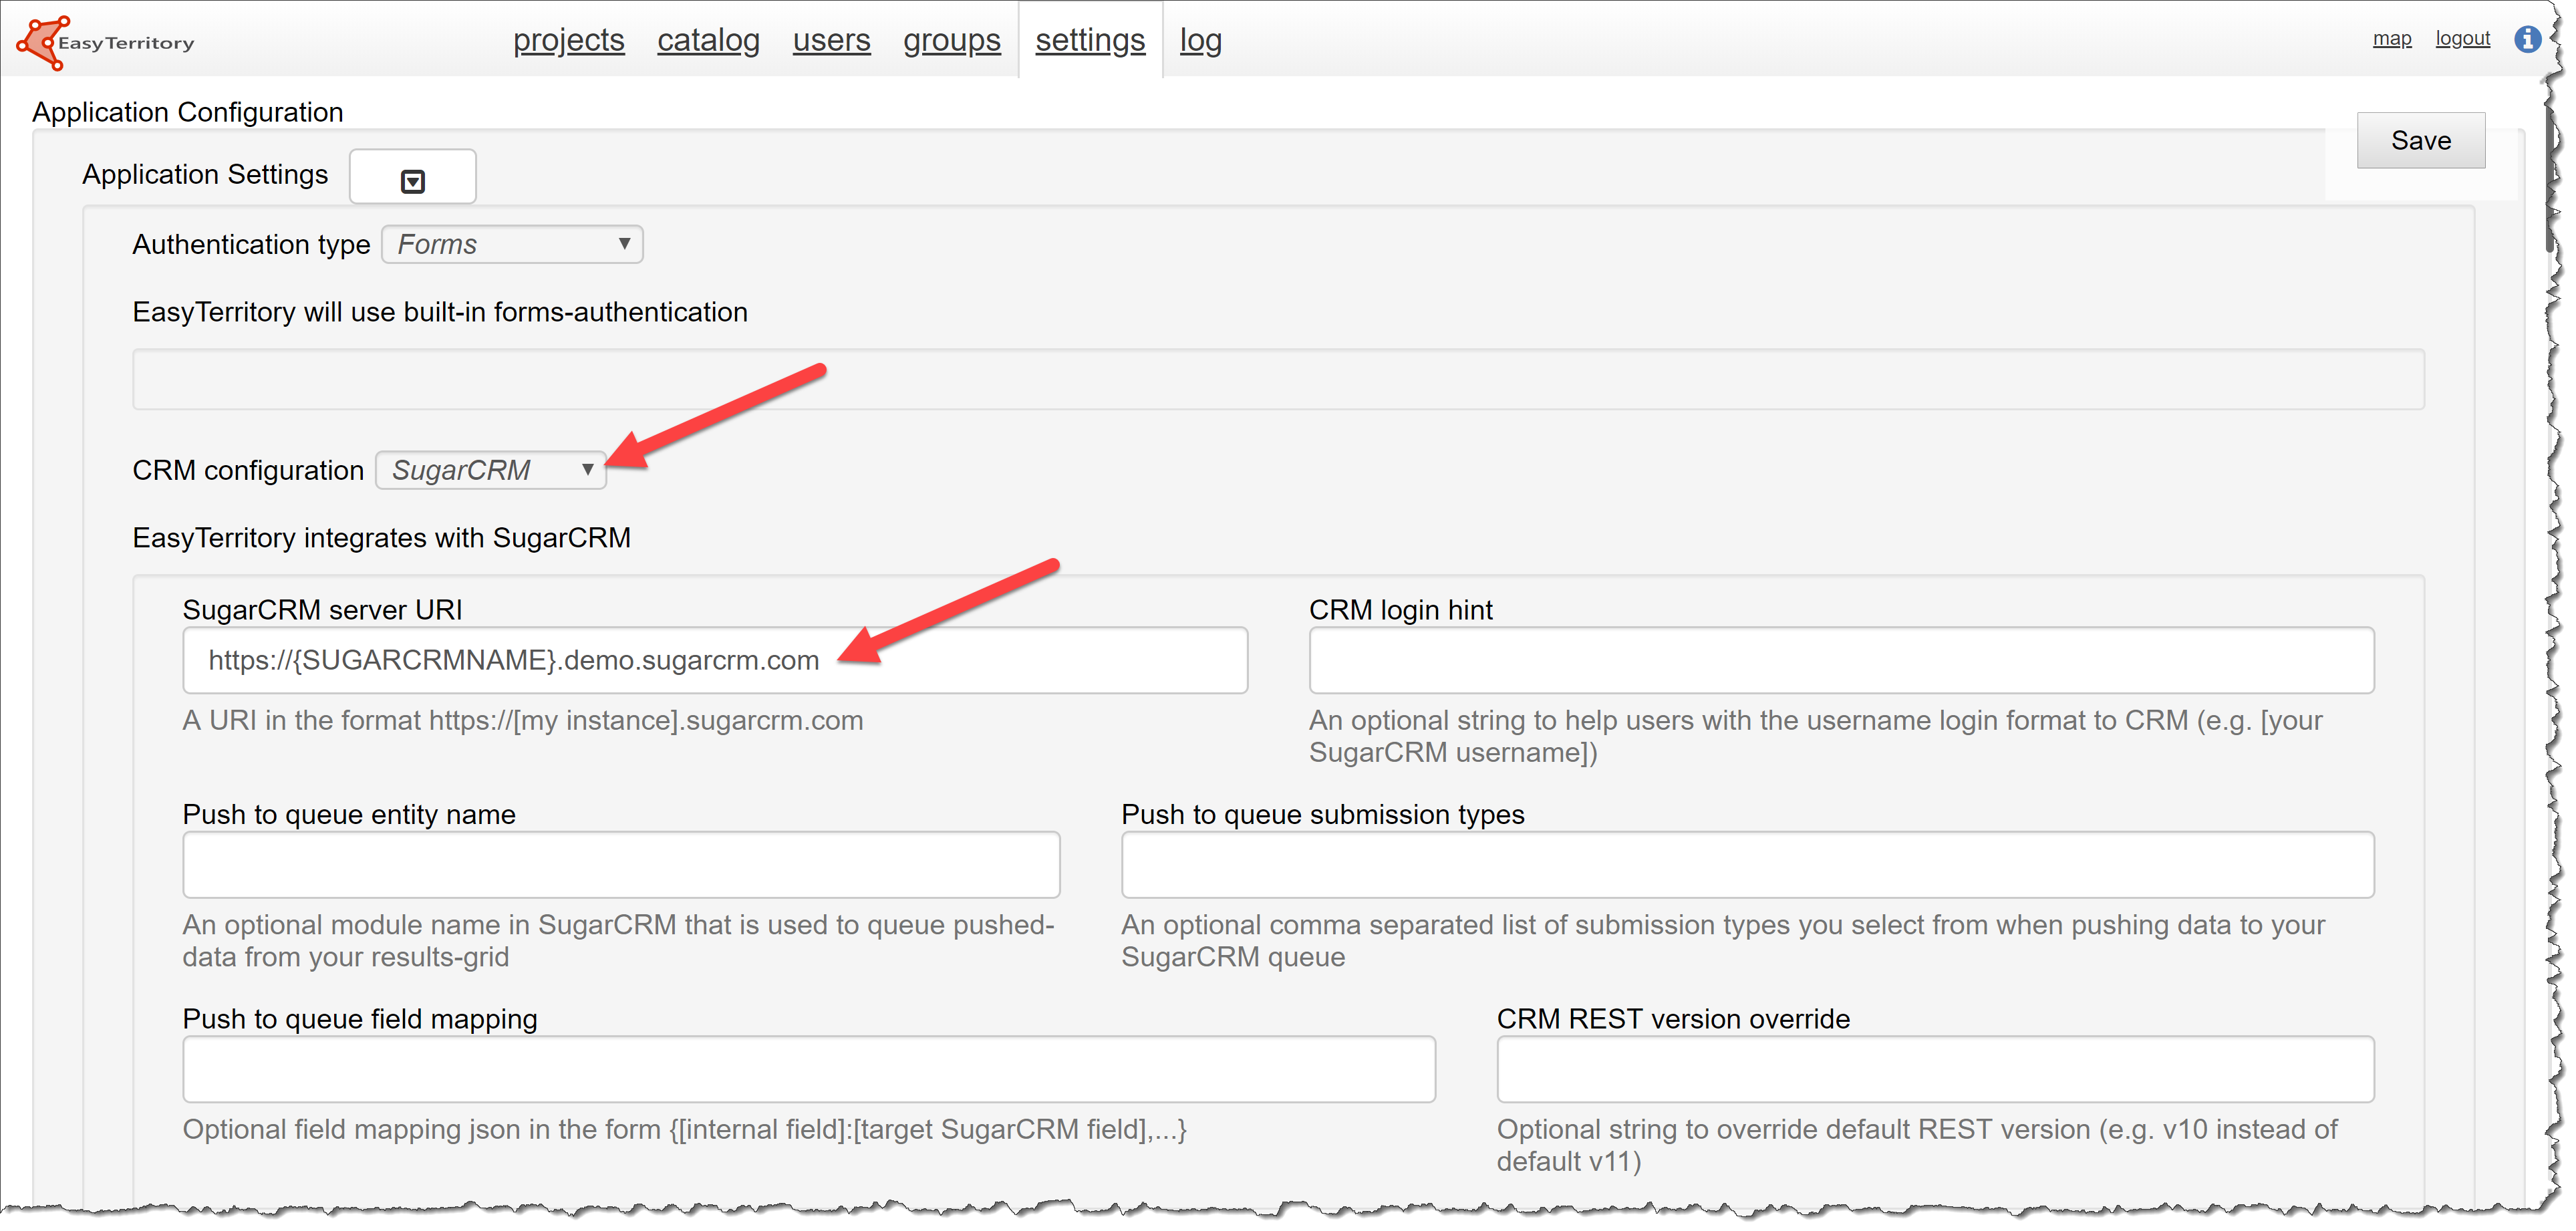
- In the admin panel in EasyTerritory, under CRM Configuration set the following:
- In the CRM configuration drop-down select ‘SugarCRM’.
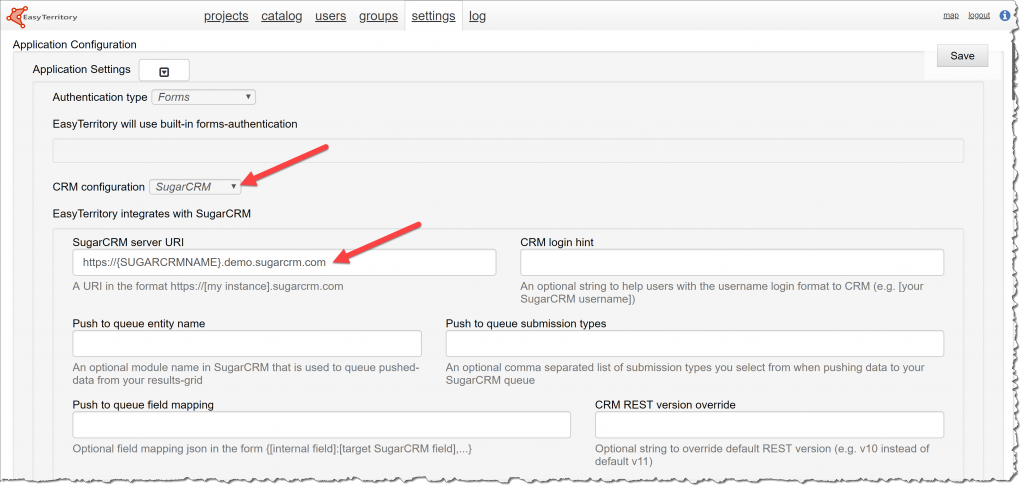
- Enter your specific SugarCRM server URI.
- If you’re running an older version of SugarCRM, you can set the ‘CRM REST version override’ property to match your deployed version of the REST API. (e.g. v10 instead or the default v11).
- Optional: ‘Push to queue entity name’, ‘Push to queue submission types’, and ‘Push to queue field mapping’ are all optional. The push to queue feature allows users in EasyTerritory to select records on the map and push them back to a queue in SugarCRM to process on.
- Set up reports in SugarCRM to load into EasyTerritory
-
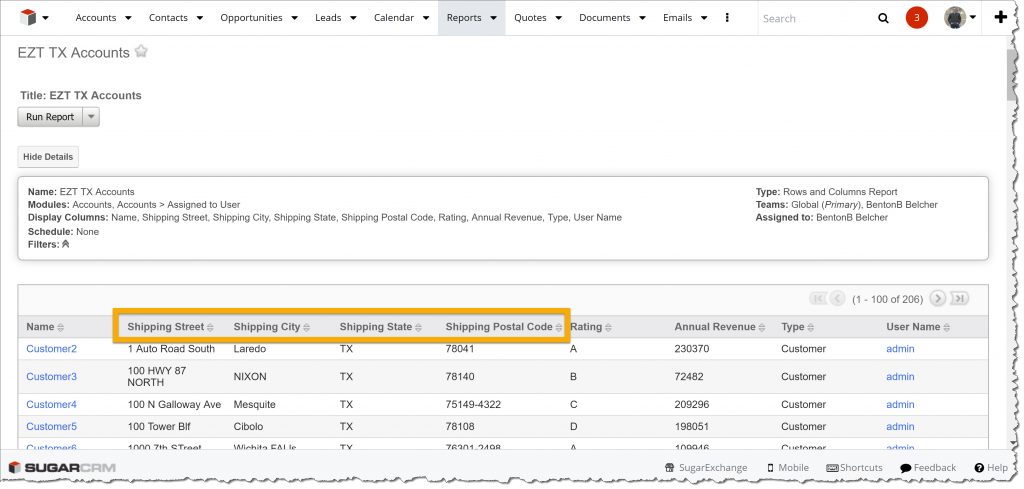
- In SugarCRM, navigate to ‘Reports’ section and click ‘Create Report’
- Choose a module to include in your report and add the columns you’d like to have available in EasyTerritory. Important: The report must include address fields. The address fields will be used by EasyTerritory to geocode the record.
- Once you have created the report, run the report.
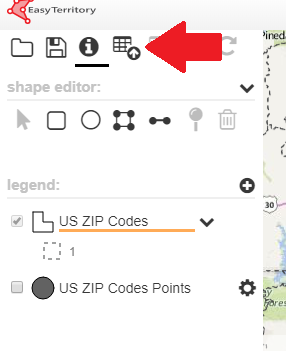
- In your EasyTerritory instance, create a ‘new project’ and click the ‘upload’ icon.
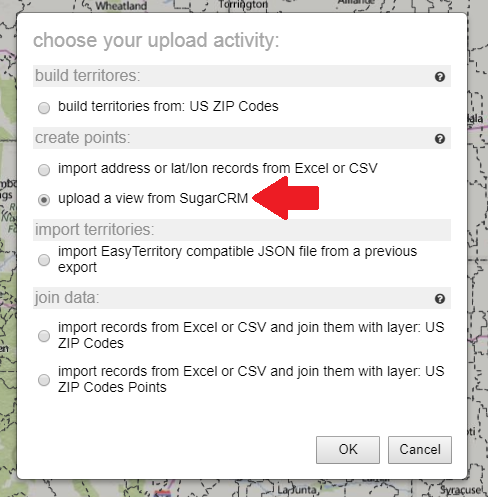
- In the upload activity dialogue click ‘Upload a view from SugarCRM’
- Press ‘OK’ and enter your SugarCRM credentials when prompted for ‘CRM User ID’ and ‘Password’.
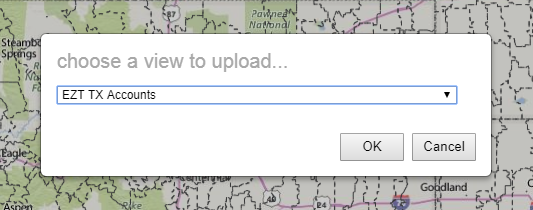
- Once you have authenticated with SugarCRM you will see a drop-down dialogue of different reports from your SugarCRM instance to choose from.
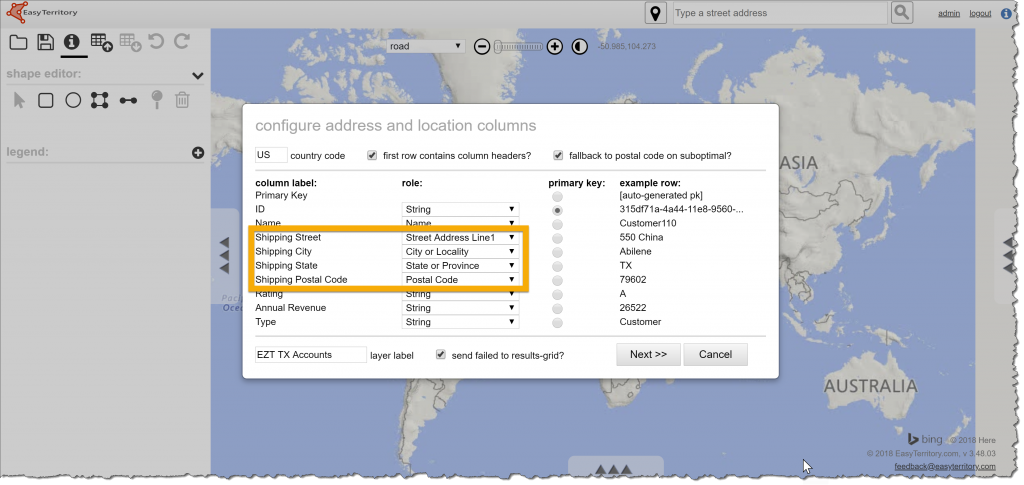
- The next dialog will prompt you to set the address fields to use for geocoding. EasyTerritory will automatically set the address fields or you can override them with custom address fields if you have them in your SugarCRM report.
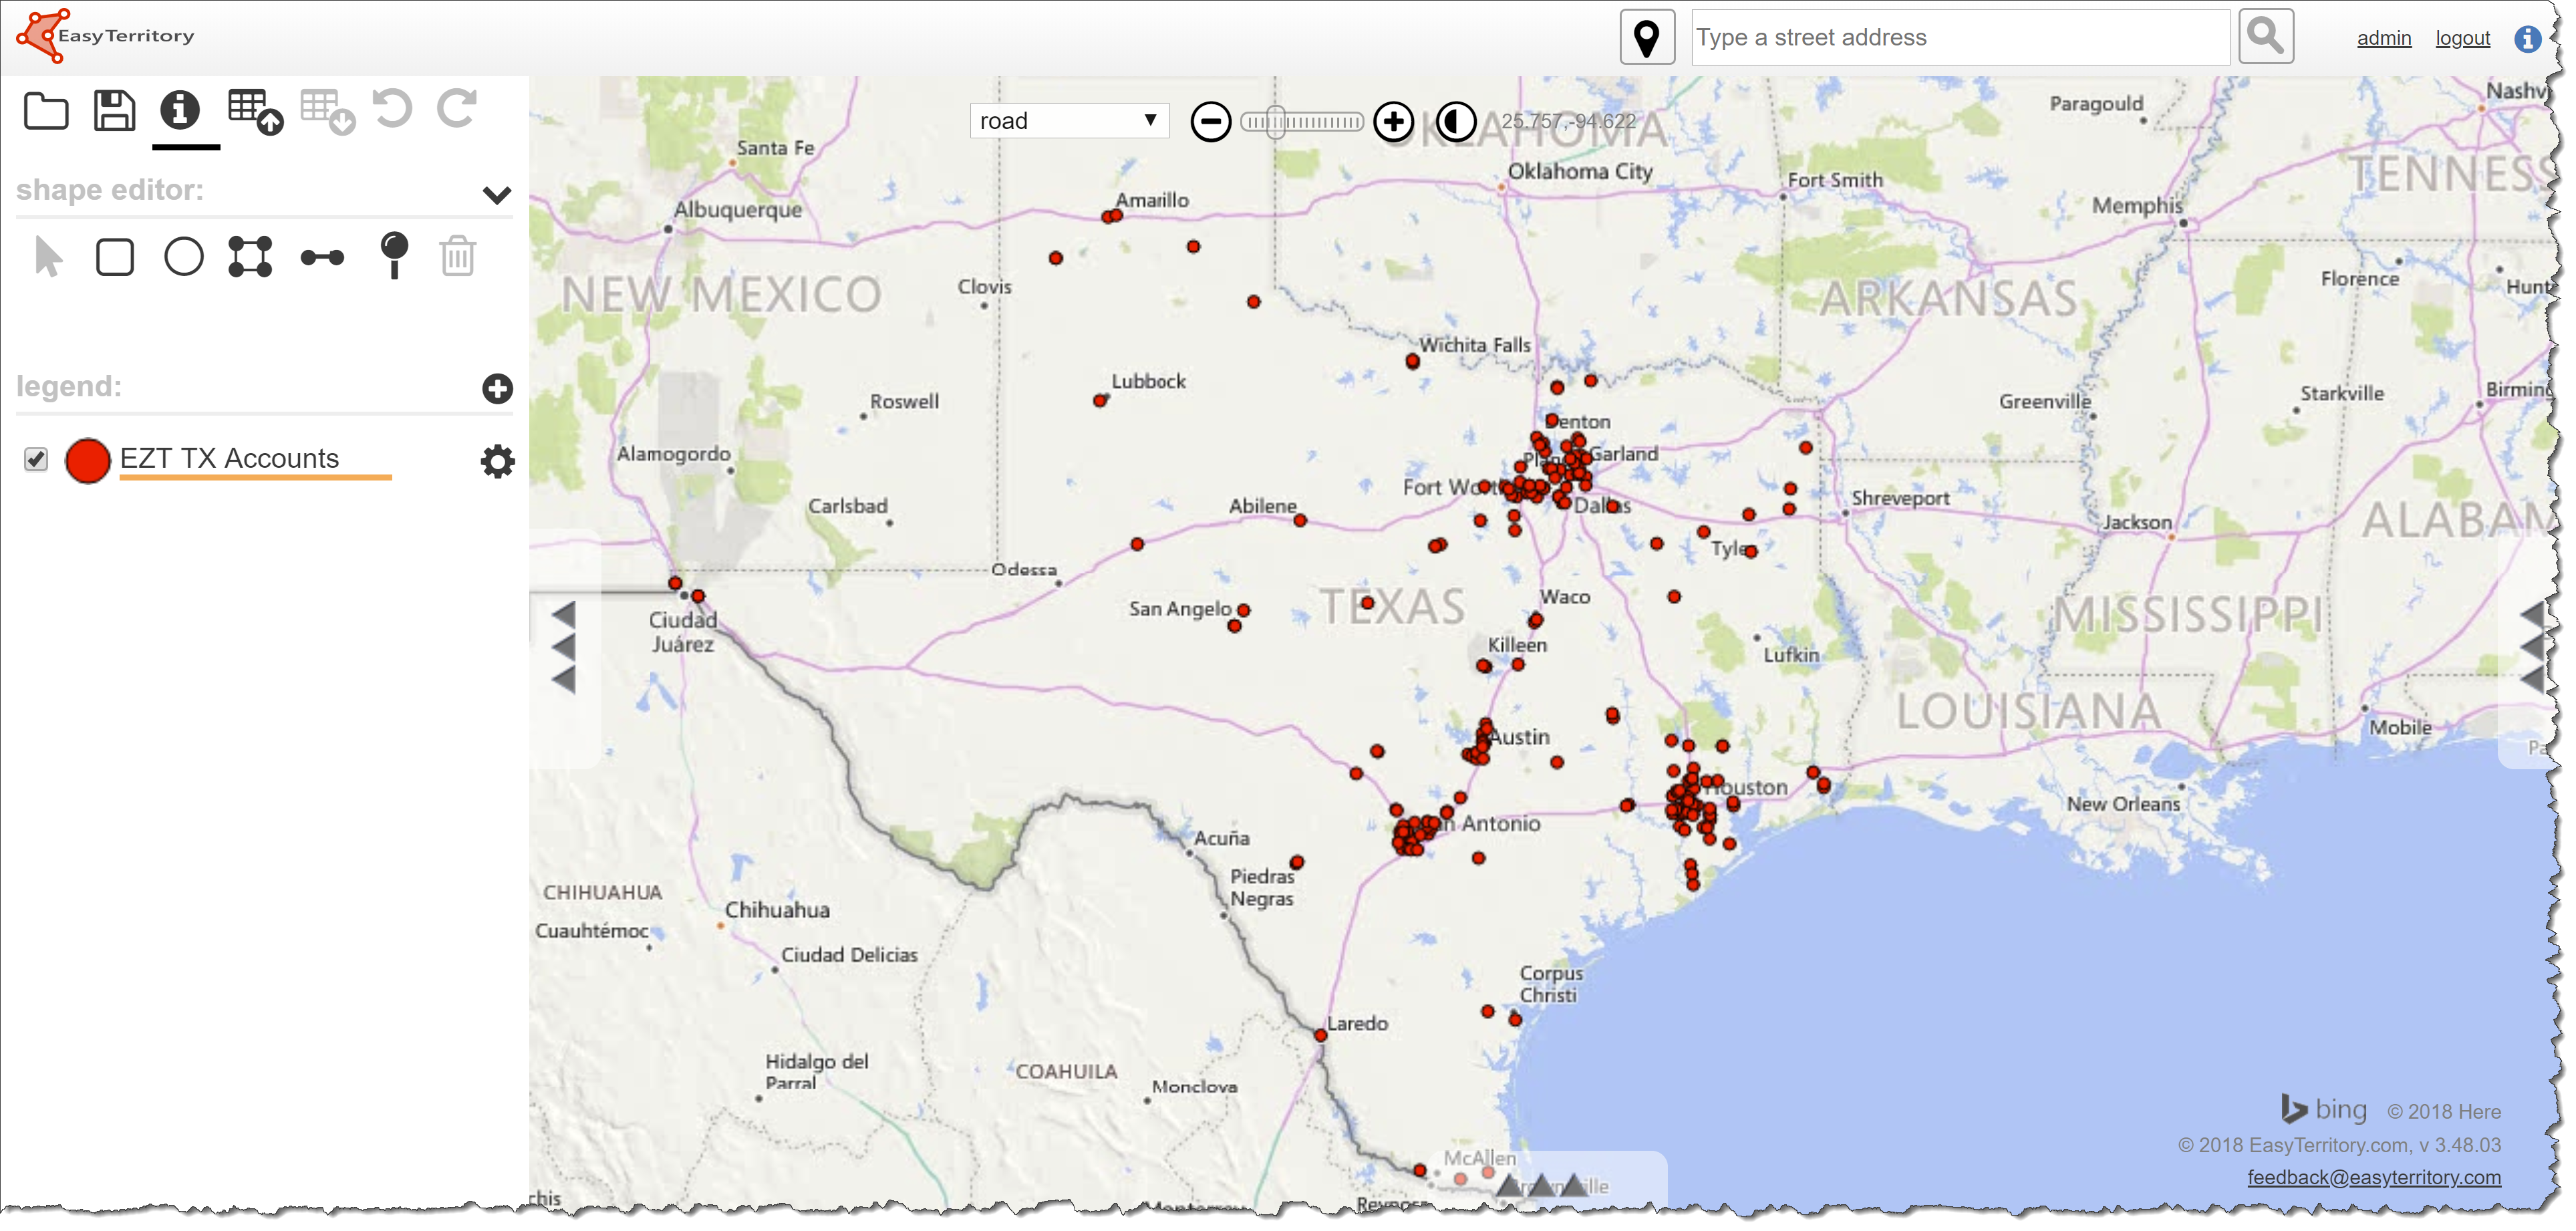
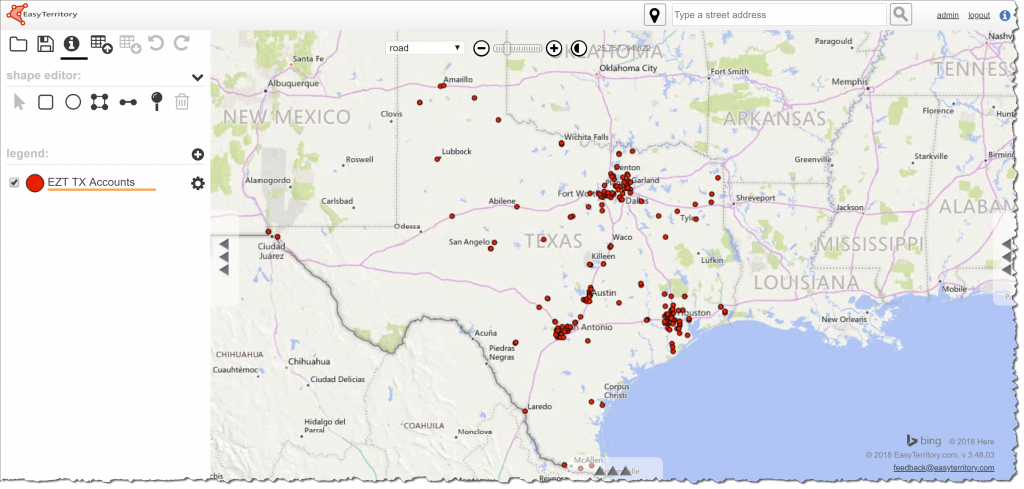
- You’ve successfully mapped your data from SugarCRM!
For more information or help setting up your SugarCRM instance with EasyTerritory, please contact customer support at: support@easyterritory.com.