Getting Started
Get in Touch
Where we’re located:
We live, work, and play in beautiful Tallahassee, Florida.
Billing & Payment Mailing Address:
2910 Kerry Forest Pkwy, D4-282
Tallahassee, FL 32309 USA
We are SOC 2 Compliant

One of the benefits of EasyTerritory is the users’ ability, through the REST API, to find the nearest point from a given latitude and longitude location . This can be done using the Project Points Plugin. Users can also use the plugin to create a layer in your EasyTerritory catalog that is based on your record point data.
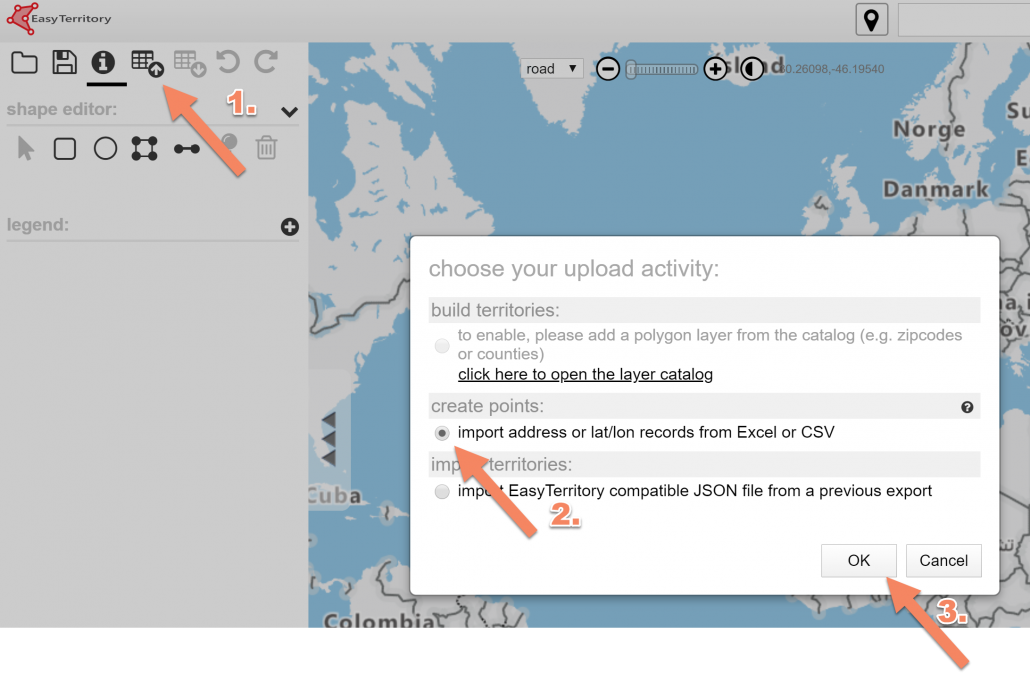
The first step in setting up a ProjectPointsPlugin is to create the source project. Users will simply upload their records in an EasyTerritory project and the system will geocode and pin the records on the map.
Next, save the project and copy the project ID to your clipboard. You can also get the project ID by going to admin > projects.

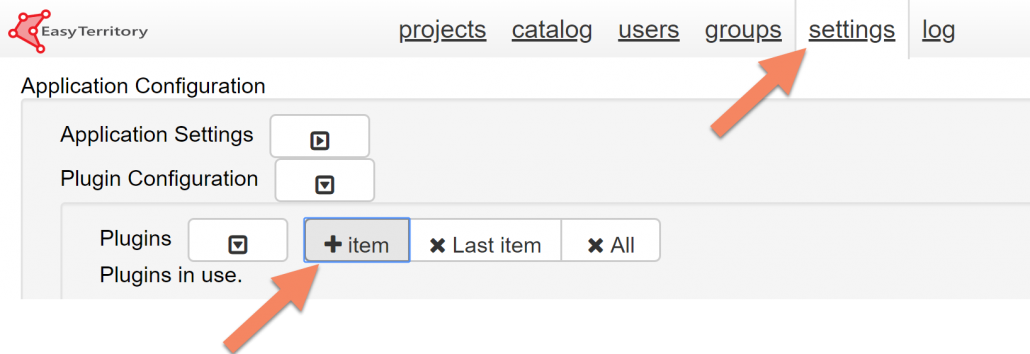
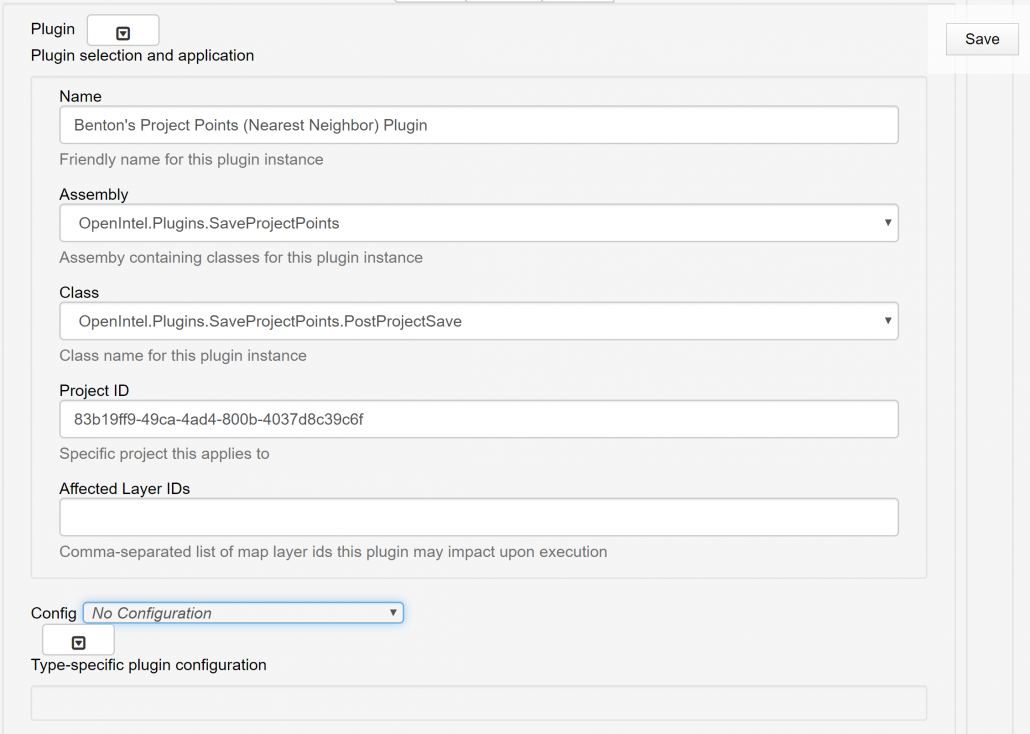
Go to admin > settings and click ‘+item’
Next, populate the following input values in the plugin configuration, entering your Project GUID in the Project ID input field and save the configuration.
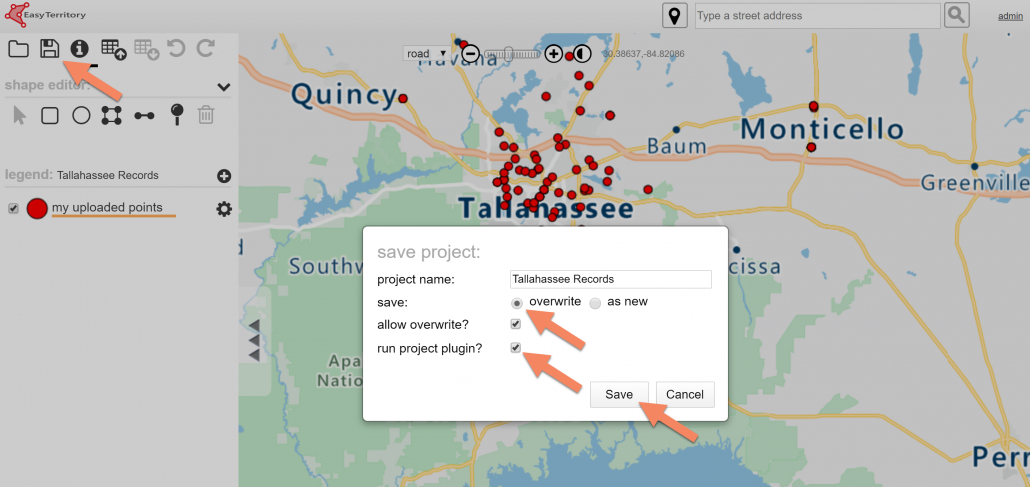
Go back to the map and save your project again. Make sure you flag ‘run project plugin’.
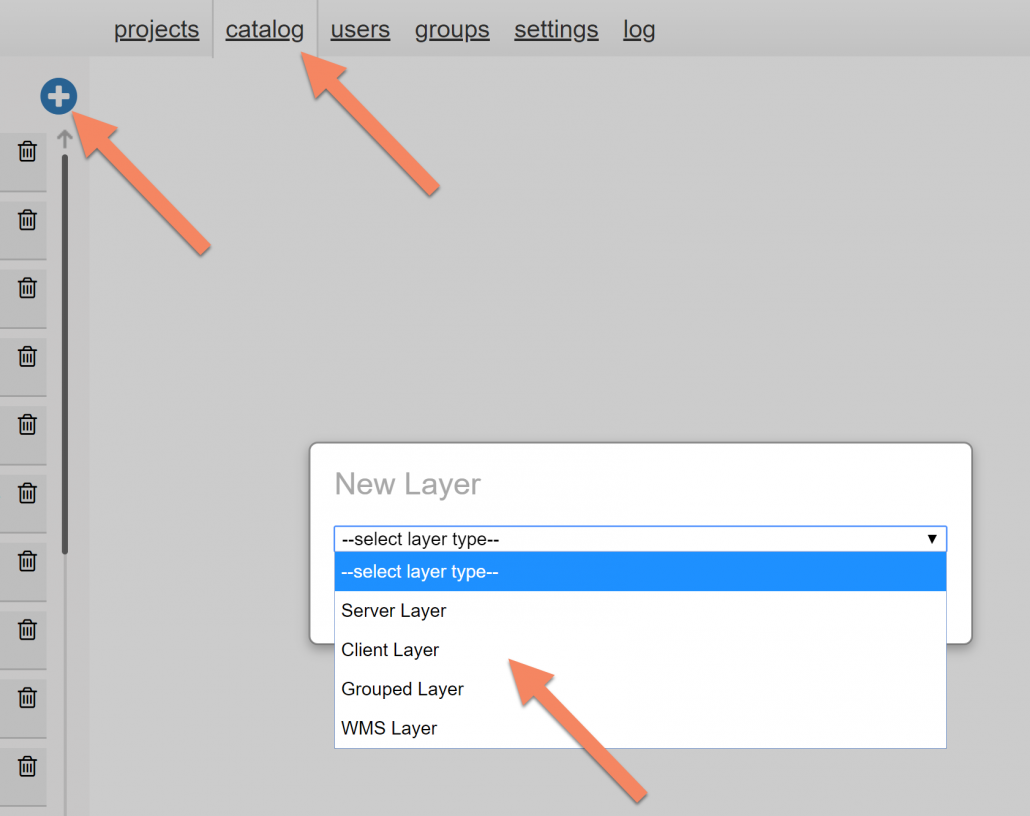
In order to view the uploaded records in multiple projects you need to create a layer. Go to admin > catalog and click the + icon.
When the ‘New Layer’ dialogue opens select your desired layer type.
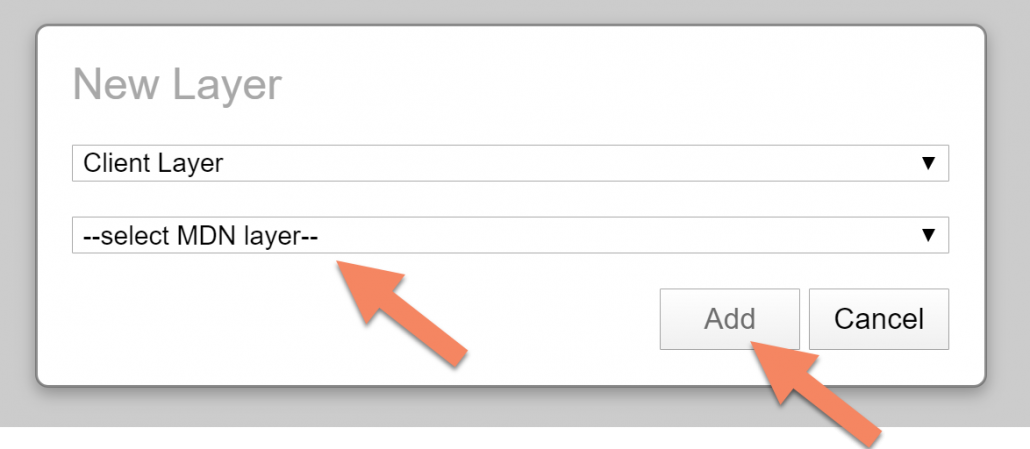
Next, in the ‘–select MDN layer–‘ dropdown, select ‘ProjectPointLayer’ and click ‘Add’
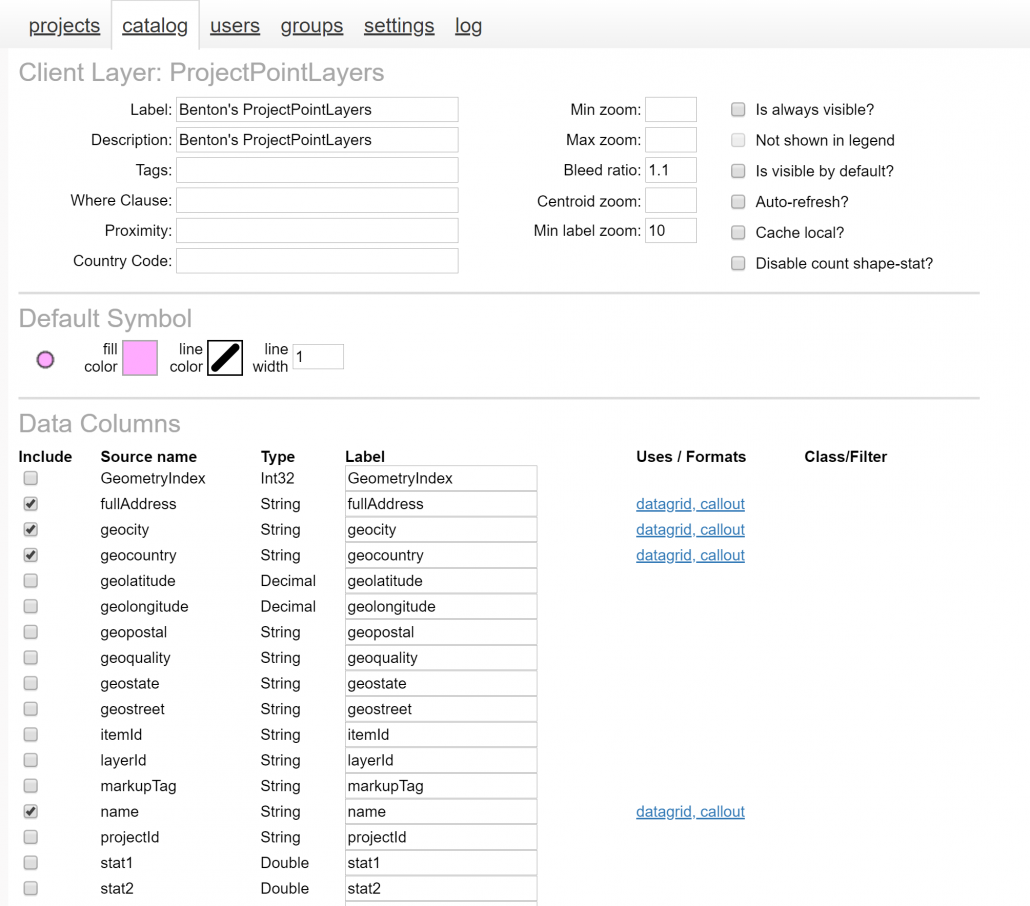
Set the desired settings in the layer configuration:
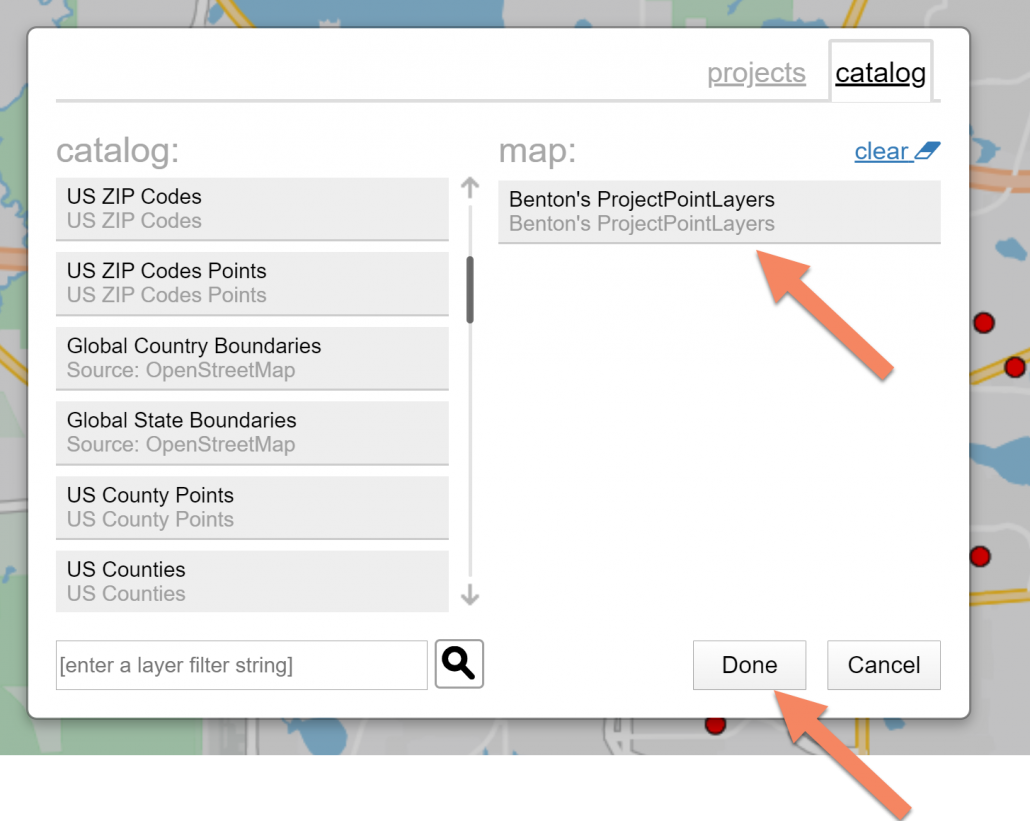
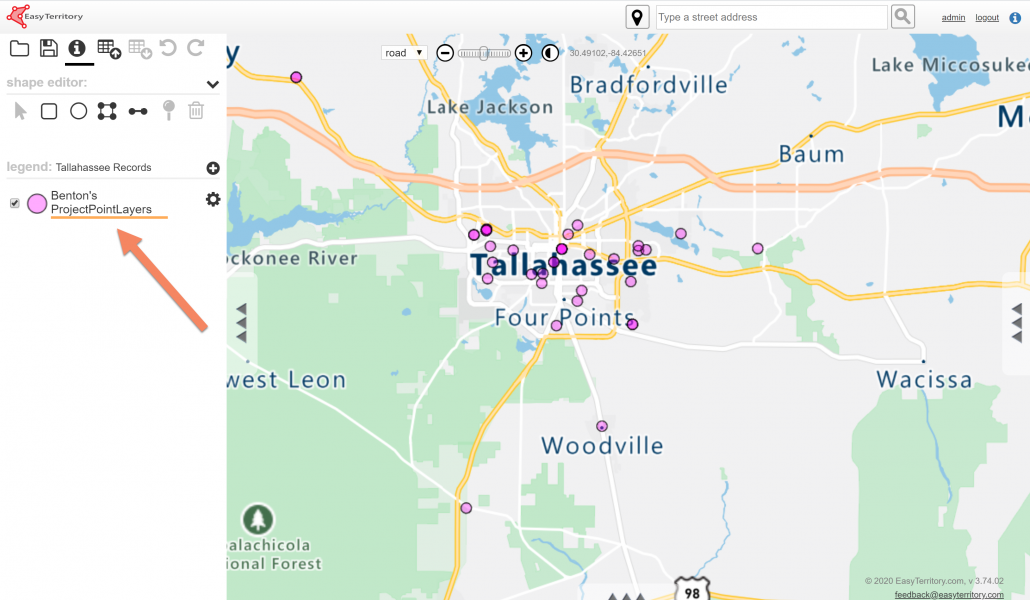
Select a new or existing project and open the rolodex. In the catalog dialogue select your the layer you created and add it to your map.